My (Mostly) Rockin’ Visit to Michael Yates Design

After months of looking at his Giacomo rocker and learning about the increasing number of people we know in common, I reached out to Michael Yates to let him know that I admire his work and it was influential as I went through my chair-making process. He invited me for a shop tour, and I enthusiastically accepted.

When I arrived at his shop, however, he wasn’t there. His employees were, and I talked with them and learned his car was in the shop and he’s in the midst of moving, but this still meant that I was stood up. His employees talked with me about the shop, showed me a version of the rocker I’d been looking at, and Michael apologized for not being there, but I was upset. I felt like I had told someone that I admire him very much and he had responded by telling me he didn’t really care.

Now, I know this isn’t the case and I’m taking personally what was, I’m sure, a mistake during a hectic day, but that’s how it felt in the moment. Regardless, it helps me realize that even the best people in the trade are human and can’t manage everything perfectly, and that helped make me feel a little better.

When his employee pulled out the rocker I felt a little bit like I was meeting a famous person. I had looked at it so much, admired its beauty and craftsmanship, and now here it was!

MichaelYates_Chair_DB_webThere were so many small, clever nuances to the design that I never noticed in the photos, like the way the back slats expose about an eighth of an inch of tenon…just enough to look intentional and reveal the work, and the way the connection piece underneath the armrest is actually part of the armrest—one piece that has been routed out and sanded into its curved shape. I sat in it too. A great chair.

The other wonderful thing about meeting this chair in person, was that it reinforced for me that my chair is also really, really good.

I still hope I get to meet Michael at some point, but if I don’t, I’ve still gotten a lot from him that I appreciate.


Review

183So my review was this past Thursday and it went well. Criticism focused largely on the thickness of the members maybe being slightly too big and the backrest being kind of the last thing I paid attention to–both legitimate comments. Otherwise, feedback was overwhelmingly positive. I thought you would appreciate seeing all the other projects here. They turned out fantastic. Keep in mind that many of these people had zero woodworking experience before this semester. You can also kind of see the review format. The presenter stands next to his or her piece and talks about the design and process of making it to a small panel of reviewers comprised of faculty and local and visiting architects. The panel asks questions, criticizes, and compliments.

I am proud to say that I won a Design Excellence Award. It feels really good! Thank you Mark!

184 185 186 187 188 189 190 191 192 193 194195

Finishing

174Here are the results of my finish tests. Polyurethane is on the left and Danish oil is on the right. It’s pretty clear the Danish oil gives a richer, more faceted result.176 175


So, I gave everything one last look over while running a bright light over it to make sure I had gotten out all of the scratches from sanding, and I went for it! As soon as the finish hits the wood, the piece just comes alive. It’s amazing. I don’t have a whole lot more to report today, just images to share of the chair with its first coat of finish on it. Tomorrow when it’s dry I will lightly sand it with 220 grit so the next coat has some tooth to stick to. I’ll do this one more time after that until it has three coats on it, and then I’ll be done!

Y’all, it looks really good.

177 183 182 181 180 179 178


Rounding Third and Headed for Home

So I’m no baseball enthusiast (go Mets!), and neither is my husband, but he’s really really good at baseball. That’s neither here nor there, but it helps explain my near non sequitur of a title. I’m mostly trying to bring some excitement to what has actually been a very tedious week in the shop. I’ve been hand-sanding for most of it.

Remarkably, or maybe not, my hands are the most torn up they’ve been all semester. I’ll get back to that, but here’s some more excitement: TaDAAAAA! Here’s a real person sitting in my chair!

166Once I unclamped the whole thing, I set to work on final touches. I cut the extra material off of the rockers, which was a fair amount in the front and almost nothing in the back. I used the Japanese saw to do this by hand and then hand sanded the ends down to the final size. I used the angle of the armrest/leg connection as the angle at which to cut the ends of the rockers.167

168


After that, this was my view for the most part for the rest of the week. I’ve been filling tiny gaps with a mixture of superglue and sawdust, orbital sanding any connections that still didn’t feel flush, and hand sanding the whole thing.

170 I’ve left the chair sitting on top of the table as it is less likely to get knocked into or moved around, and it has actually been easier for me to just get on and off of the table rather than lifting the chair up and down. I figure the less it gets moved around before review the better.

I did have one gap on one of the backrest joints that was visually just a hair larger than I was comfortable with, so I angled the table saw to cut a really thin, tapered piece of mahogany to wedge in there (don’t worry. I chiseled the excess material out).
171 172


Amidst my sanding marathon, I have also begun a few finish tests. I plan to use Danish oil or wipe-on poly, since they’re both easy to apply. I sanded down some samples and will do three coats of each before I decide which one to go with. I like the idea of using wipe-on poly, since I think it will look slick and crisp, but I would lose some of that woody feel, so I may stick with the Danish oil. I’ll let you know what happens.

173169

In five, four, three….

146So we’re in the home stretch. Review is in two and a half weeks and everything is coming together. This past week I worked on the backrest, which I neglected until the very end mostly because I wasn’t sure how to do it. The beginning of the process was easy enough–mark on the frame pieces and then also on the backrest itself where to cut the mortises and go ahead and cut them.
147


I did this while the backrest was still oversized and had two flat ends so I wouldn’t have to worry about shimming up a curved piece on the moritser. I just cut the mortises deeper than I would have otherwise, knowing I would be cutting off some length afterwards. 

148149

150
153


Once this was done, I had to figure out how to actually cut the backrest down to size. This was complicated by the fact that when the frame was clamped up with the seat, the space for the backrest wasn’t exactly square and the fact that the frames are at an angle to one another, making it also not square in the other dimension. One dimension not being square is much easier to deal with than two. I planned to make a mock up and then just trace its size on to the actual backrest, but I cut the angle wrong and cut the whole thing too small almost immediately. Then, I made another one and made the same mistakes again. At this point I was out of mock-up material so I just bit the bullet and started on the real thing, thinking, “fool me twice, shame on me. Fool me three times, shame on me.”

151152


I measured the width between the two top back corners and transferred that measurement to the backrest, then did the same for the bottom back corners, then the two distances in the front. I cut the backrest down to size on the front end (also the widest end) and set to taking off little by little by little on the back end where it tapers by setting the belt sander at an angle and touching the wood to it ever so slightly over and over.155
154 


This involved a lot of walking back and forth between the sander and the clamped-up chair, taking a little off, checking, taking a little more off, checking, etc. until it finally fit. Also, my efforts to document this process were photo-bombed by Andrew and Morgan, two of my shop-mates and students in Mark’s wood design class. Morgan is making a credenza and Andrew is making a cradle, like for a baby. They are both talented and lovely people. It occurred to me as they jumped into the photos that it probably seems like I’m alone in the shop most of the time and that couldn’t be farther from the truth. Not only are Mark’s students down there working on their own furniture projects, but the rest of the school uses the shop for site model building and numerous other projects related to their studio designs. It is usually loud and bustling. If you look at the “people engaged/conversations had” page on this blog, it should be clear how much interaction and network building it actually takes to make something.157156
158
159


Next I did a ton of sanding. Once the chair is glued up, many places will be more difficult to reach and sand properly, so I used the orbital sander and passed over everything with 80 and 120 grits. I will go back after the glue up and sand everything by hand, probably doing 120 again, then 150 and 180. These would have been boring photos–just me standing with a sander, so I skipped them, but I had a lot of good dance time while I sanded. Then came the moment of truth: THE GLUE UP. I cannot possibly explain the amount of psyching myself up I did or how panicked I felt throughout the whole thing. I thought about having someone take pictures of me while I did it, but then saw myself yelling at a nice young architecture student to stop taking fucking pictures of me so I decided against it. It went pretty well, though I still feel kind of panicked about it even now hours later. So here it is–waiting for the glue to dry and to add all the finishing touches. Yikes!161

162


p.s. I thought you might be interested to see what everyone else is working on so here are a few other projects currently in process: Katharina is making a credenza out of spalted, local Texas pecan; the circle is one end of the cradle Andrew is making out of mahogany (outrageous skills on this guy), and Tristan is making a bed out of Ash.164 165


163


A Field Trip

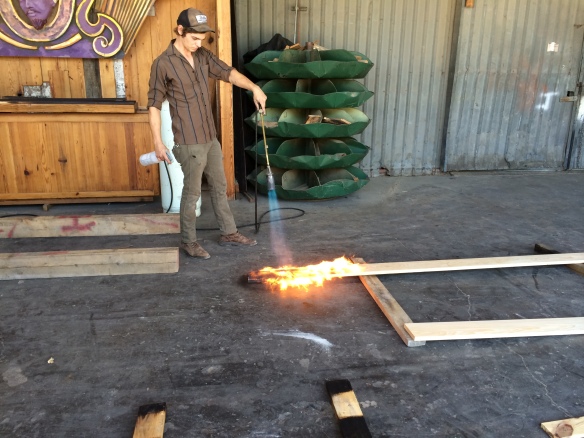
132I sit in on a class called “Timber Technologies” and this week we went to Delta Millworks here in Austin to learn about Shuo Sugi Ban, a Japanese method of burning wood to make it more resistant to rot and insects. Oh, and they just so happen to have a tenant in their space named Aldo Bohm who built this amazing canoe. It’s made entirely of scrap material (mostly longleaf pine, and some mesquite) and the strips are only a quarter inch thick. I would have taken a photo of the whole thing except that it was surrounded by architecture students (not that they’re not attractive enough, but it takes away from the majesty of the piece itself).

Anyway, Delta specializes in reclaimed lumber and Shuo Sugi Ban. They gave us a little demo of how they char the wood on the outside and then seal it. 133This job seems like every little boy’s dream–burning stuff. None of the burnt wood is structural. It’s primarily used as siding and flooring and it looks really cool. 

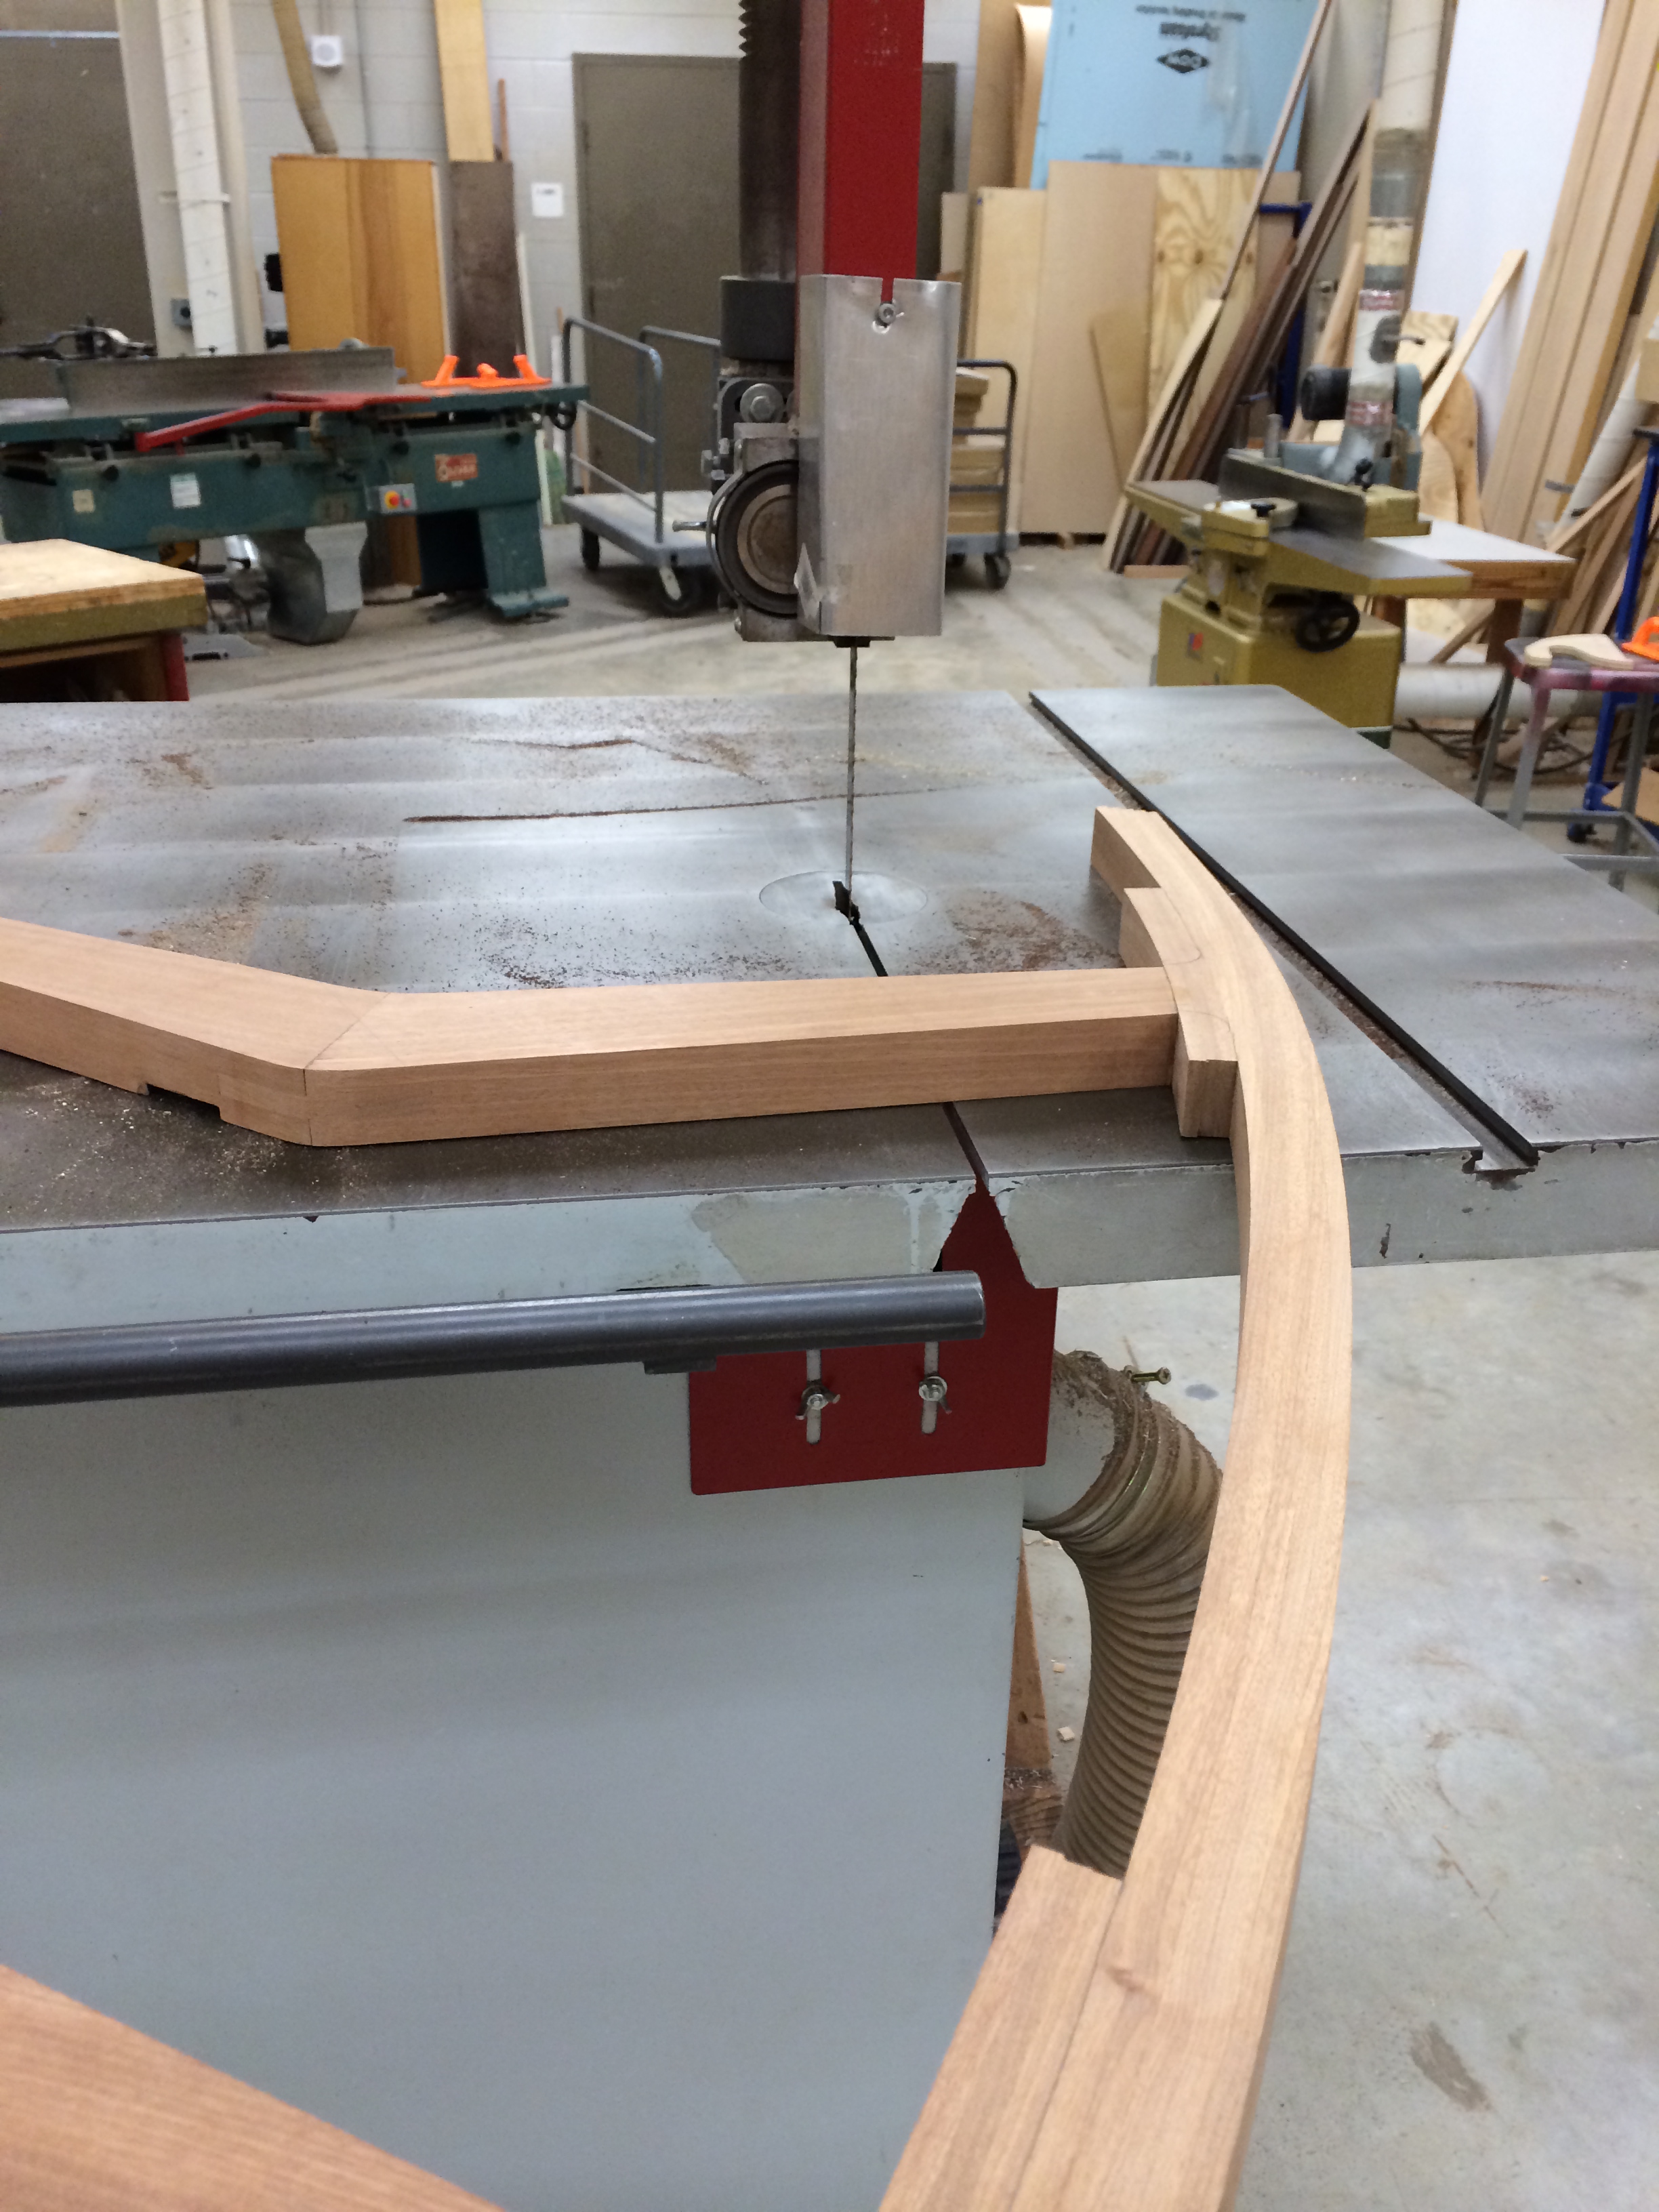
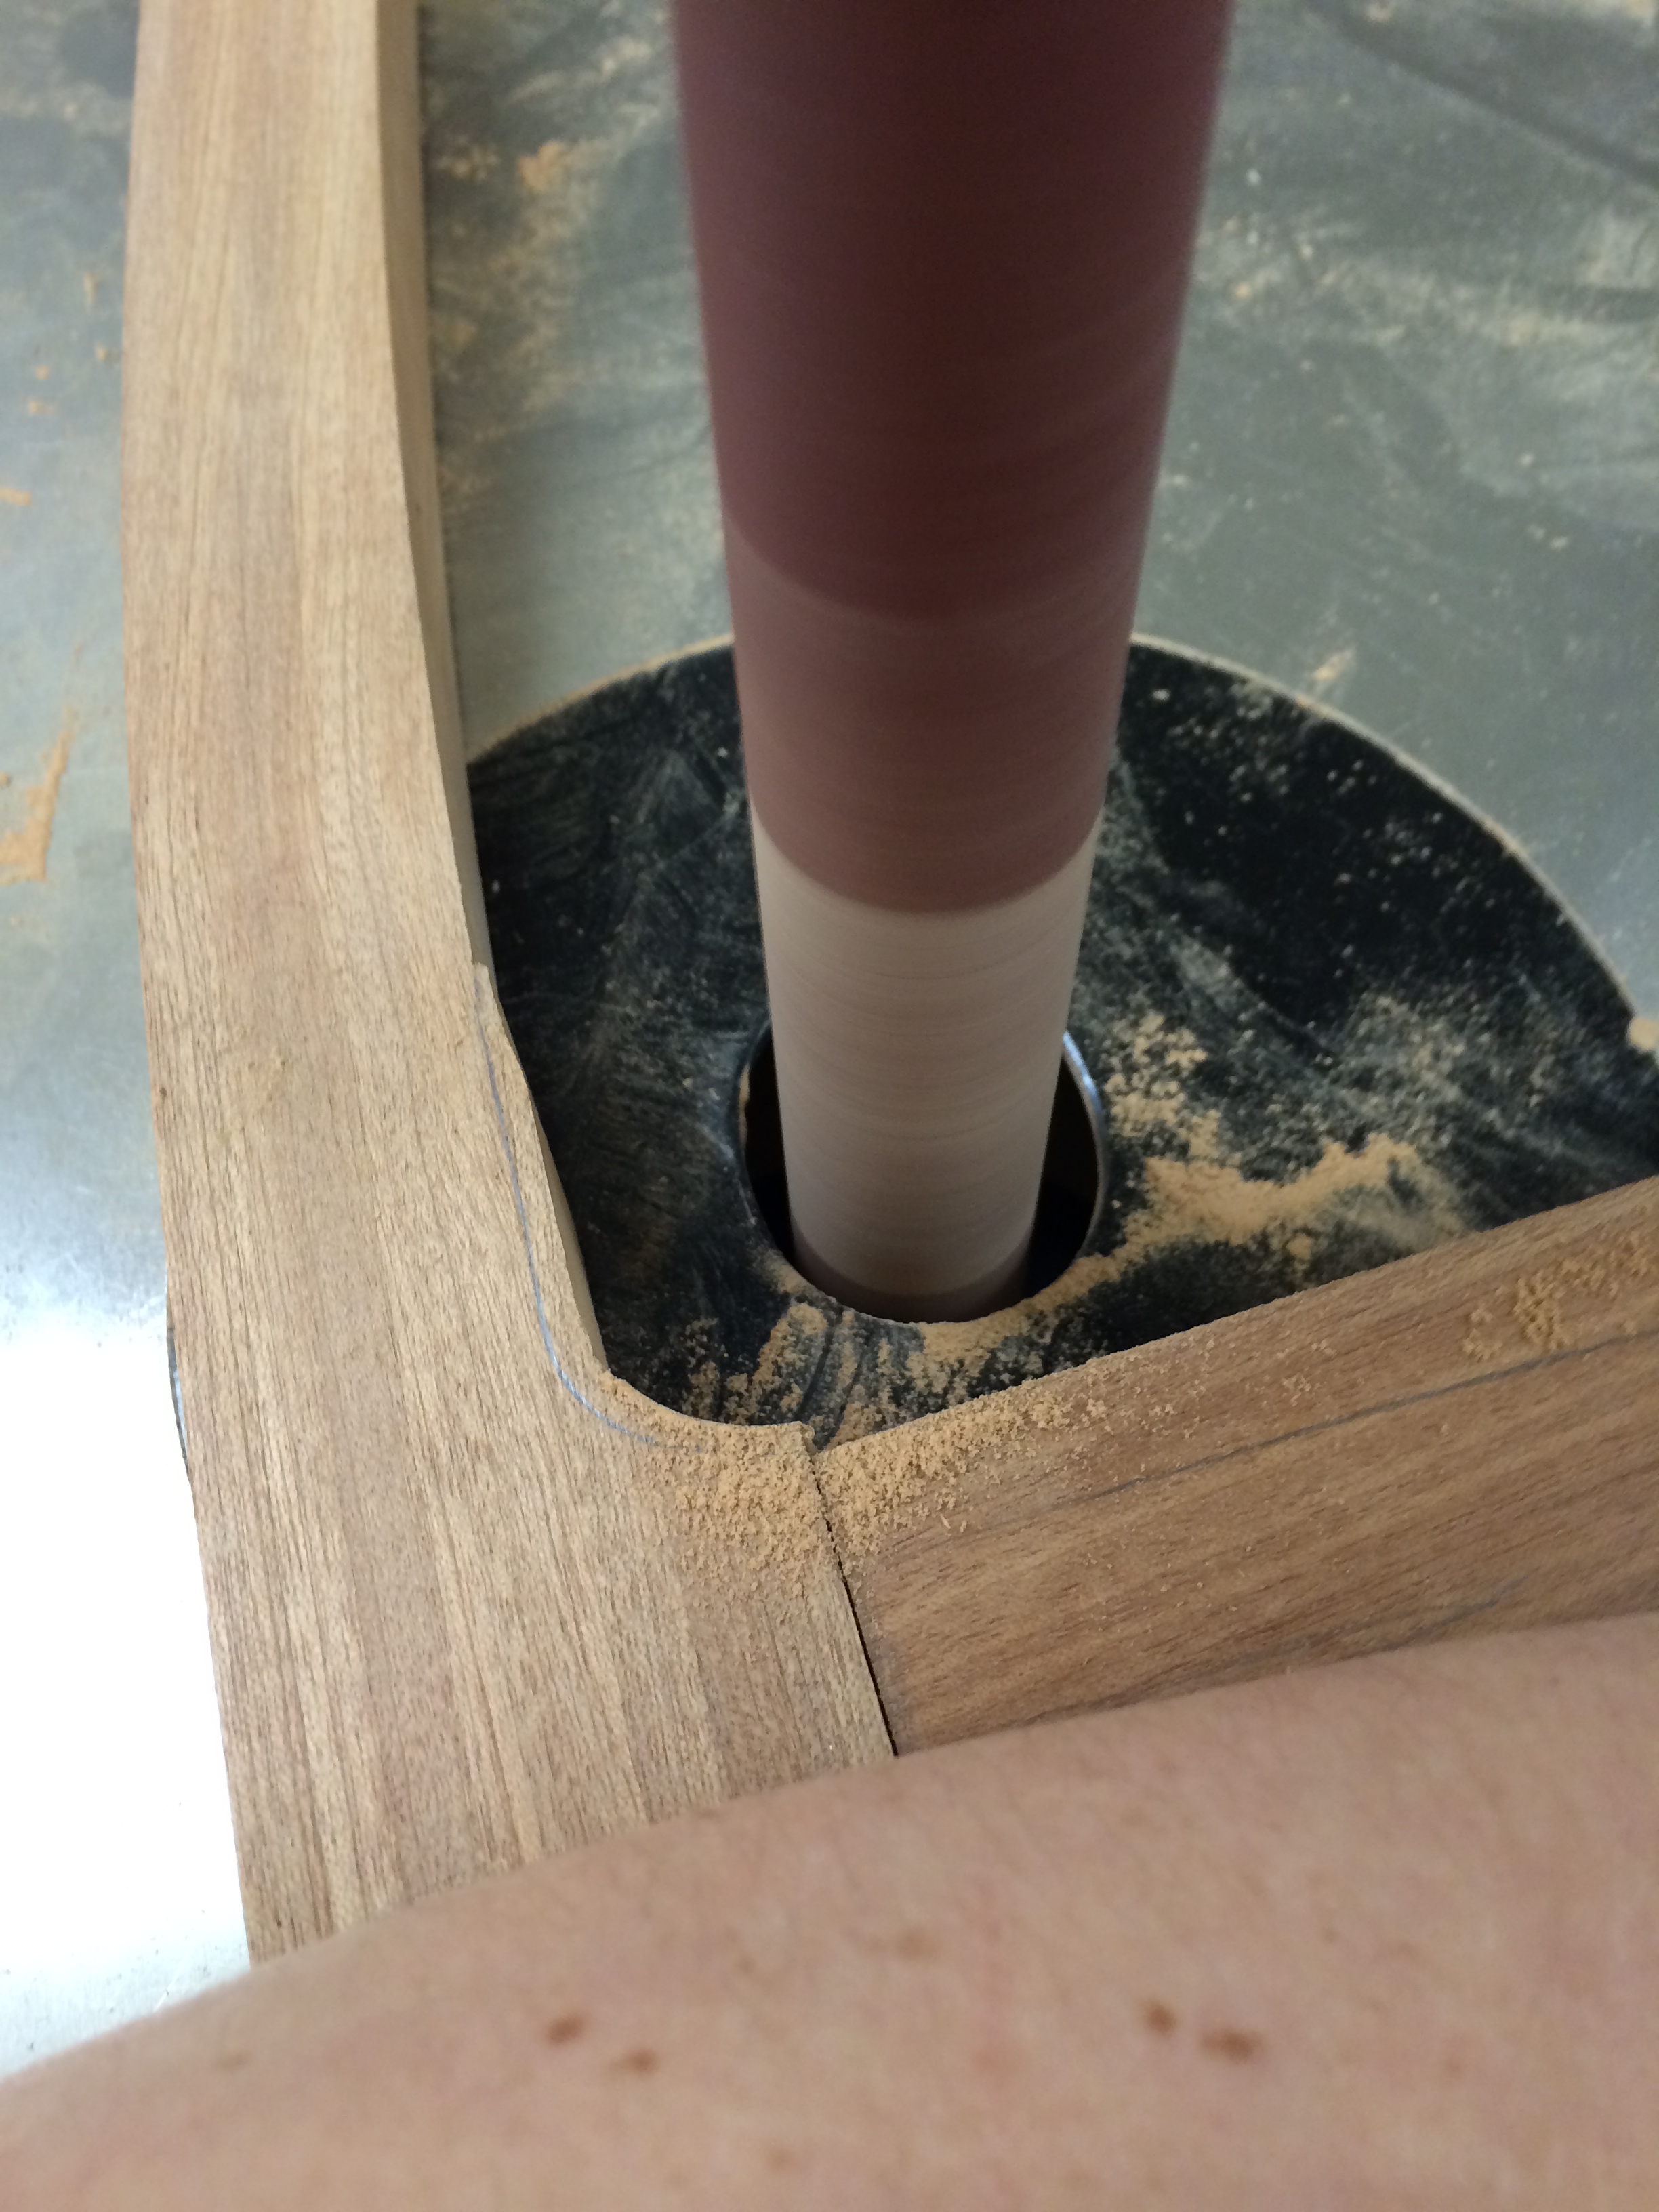
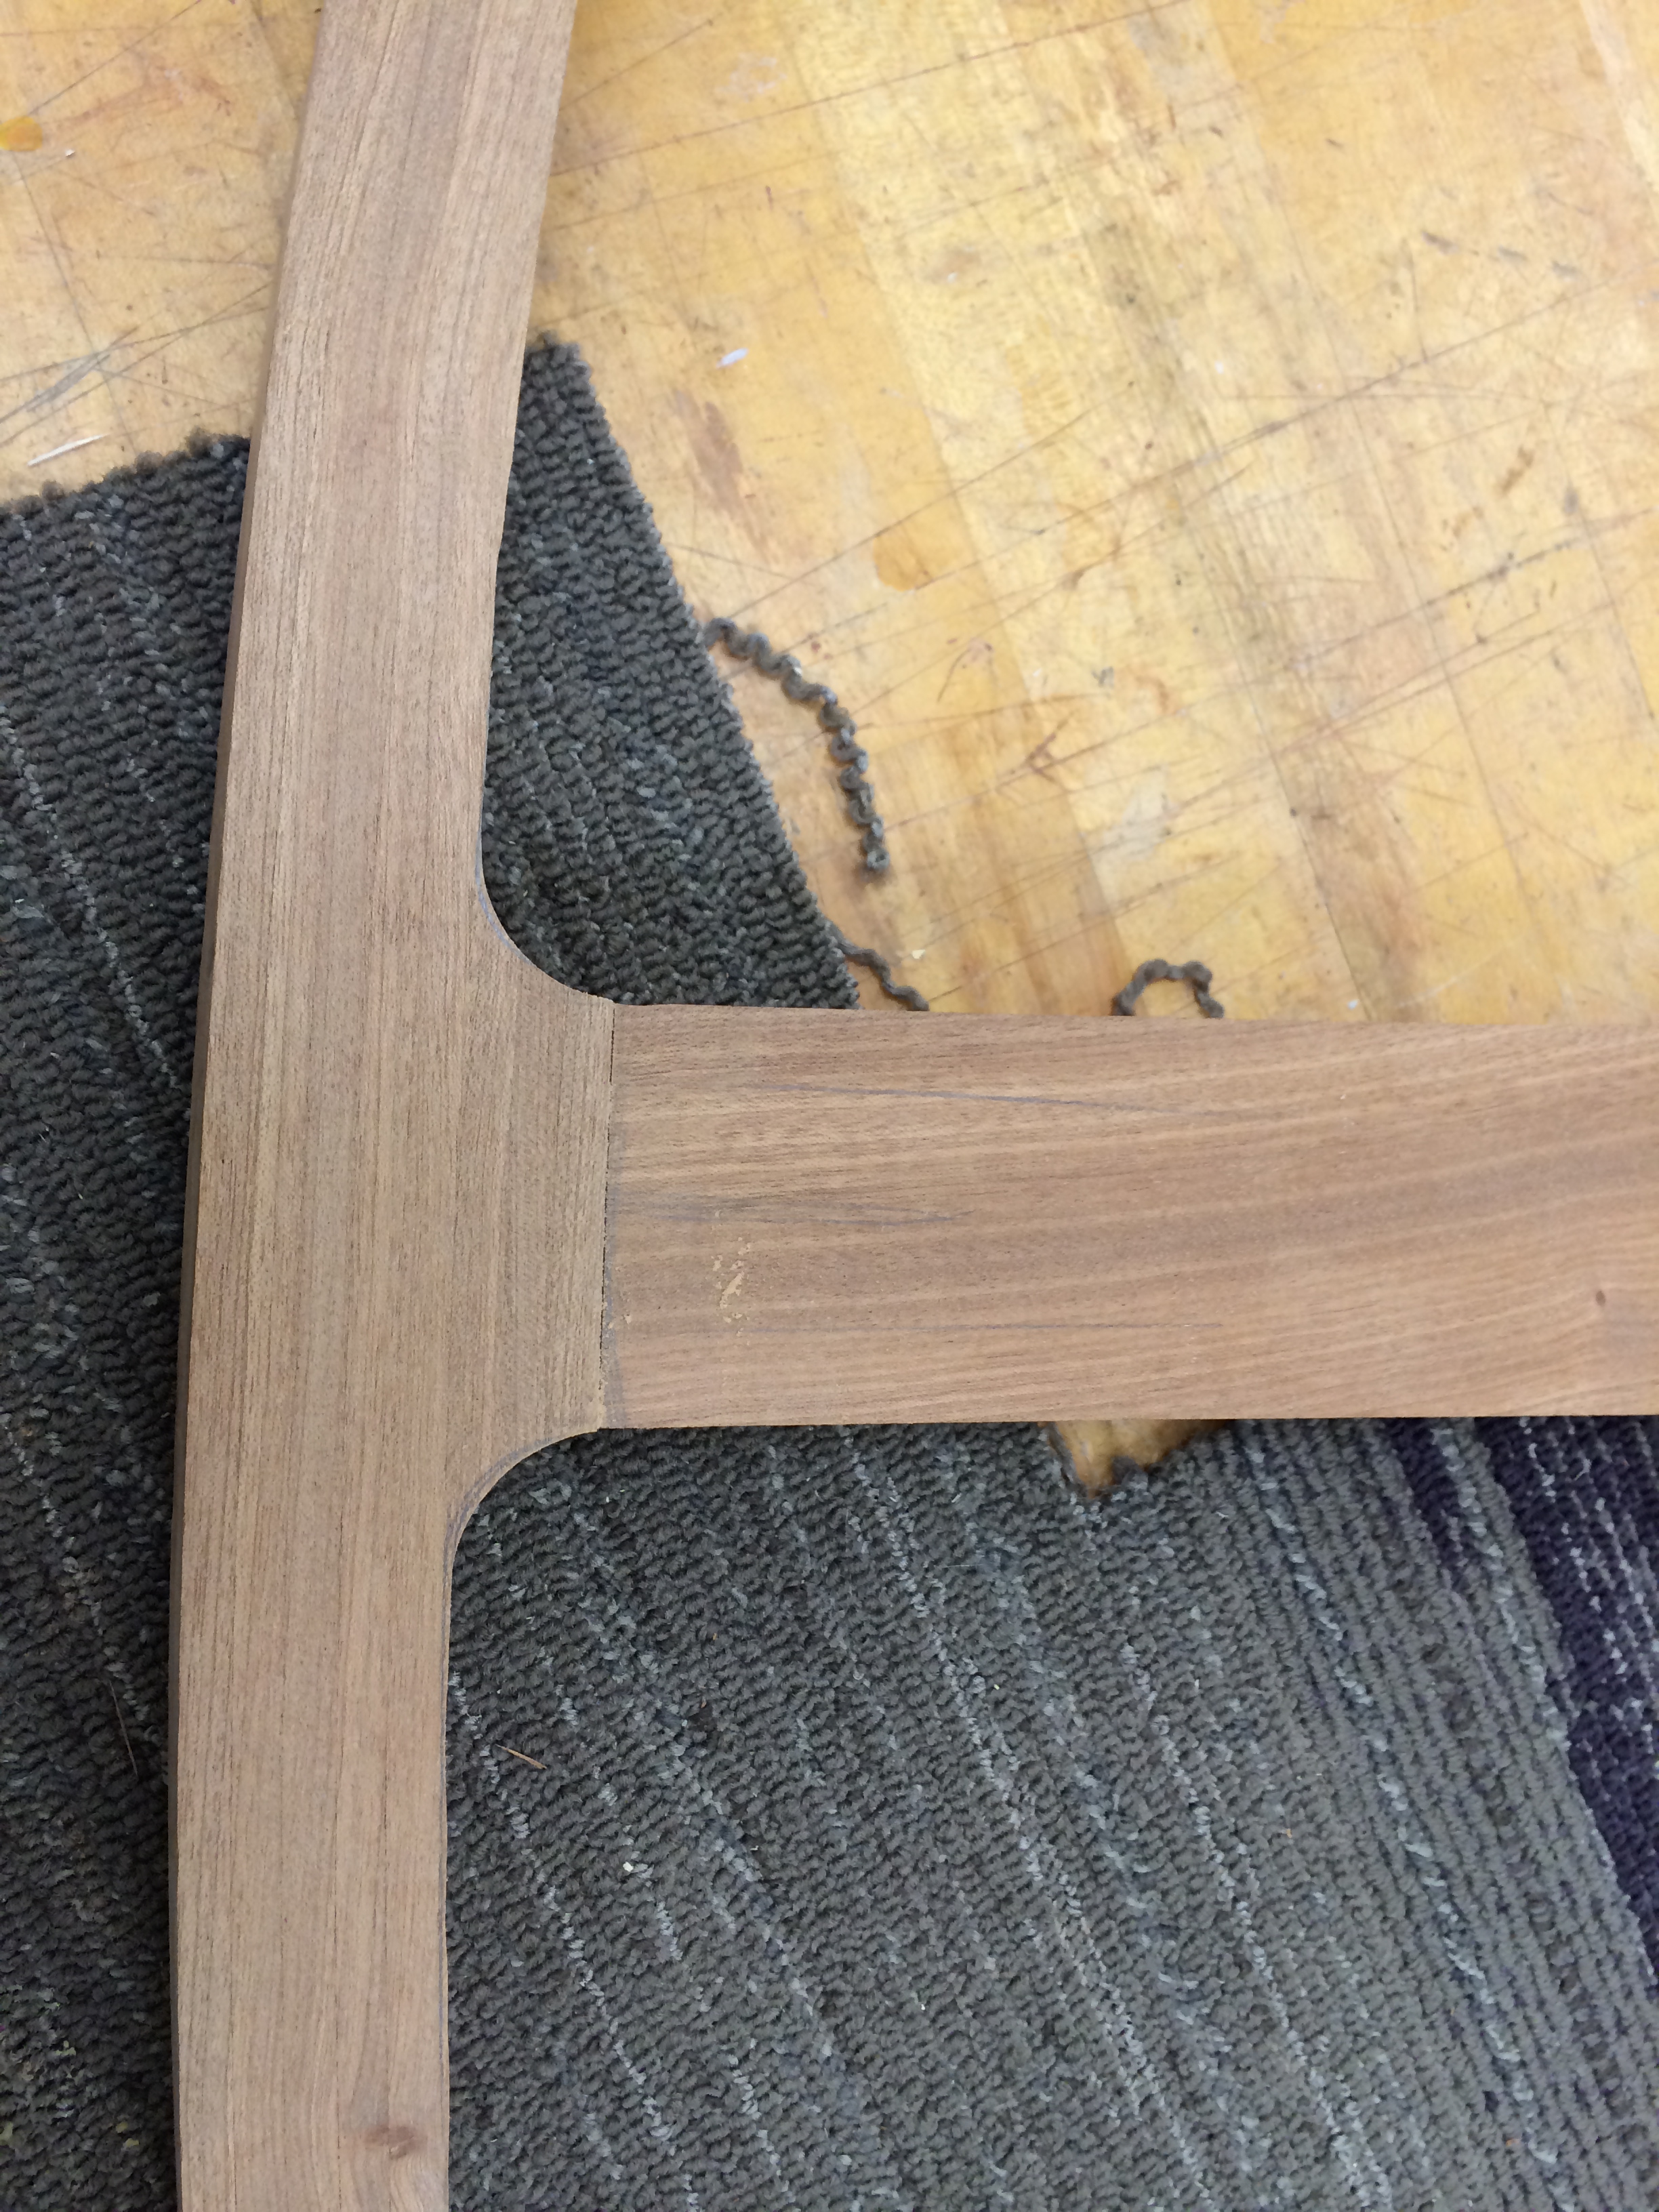
I also had to get some of my own work done this week. I trimmed off the excess lamination material on the rockers. It seemed simple enough to just run it through the band saw and then sand it down, but it didn’t occur to me that I wouldn’t be able to get the band saw into the inside of the frame (duh), so I had to cut those ends by hand with the Japanese saw. Lots of Japanese methods happening this week apparently. After they were cut down close to size, I used the spindle sander to get the curves smoothed out and the transition from leg to rocker flush. I’m generally pretty happy with how they turned out, except I cut into one of them a little too deep and now I have to fill it (I made the mistake by hand, not with a machine. Remember David Pye’s idea of the workmanship of risk? Yep).
134

135 136 137 138140 141 142 143 144 145


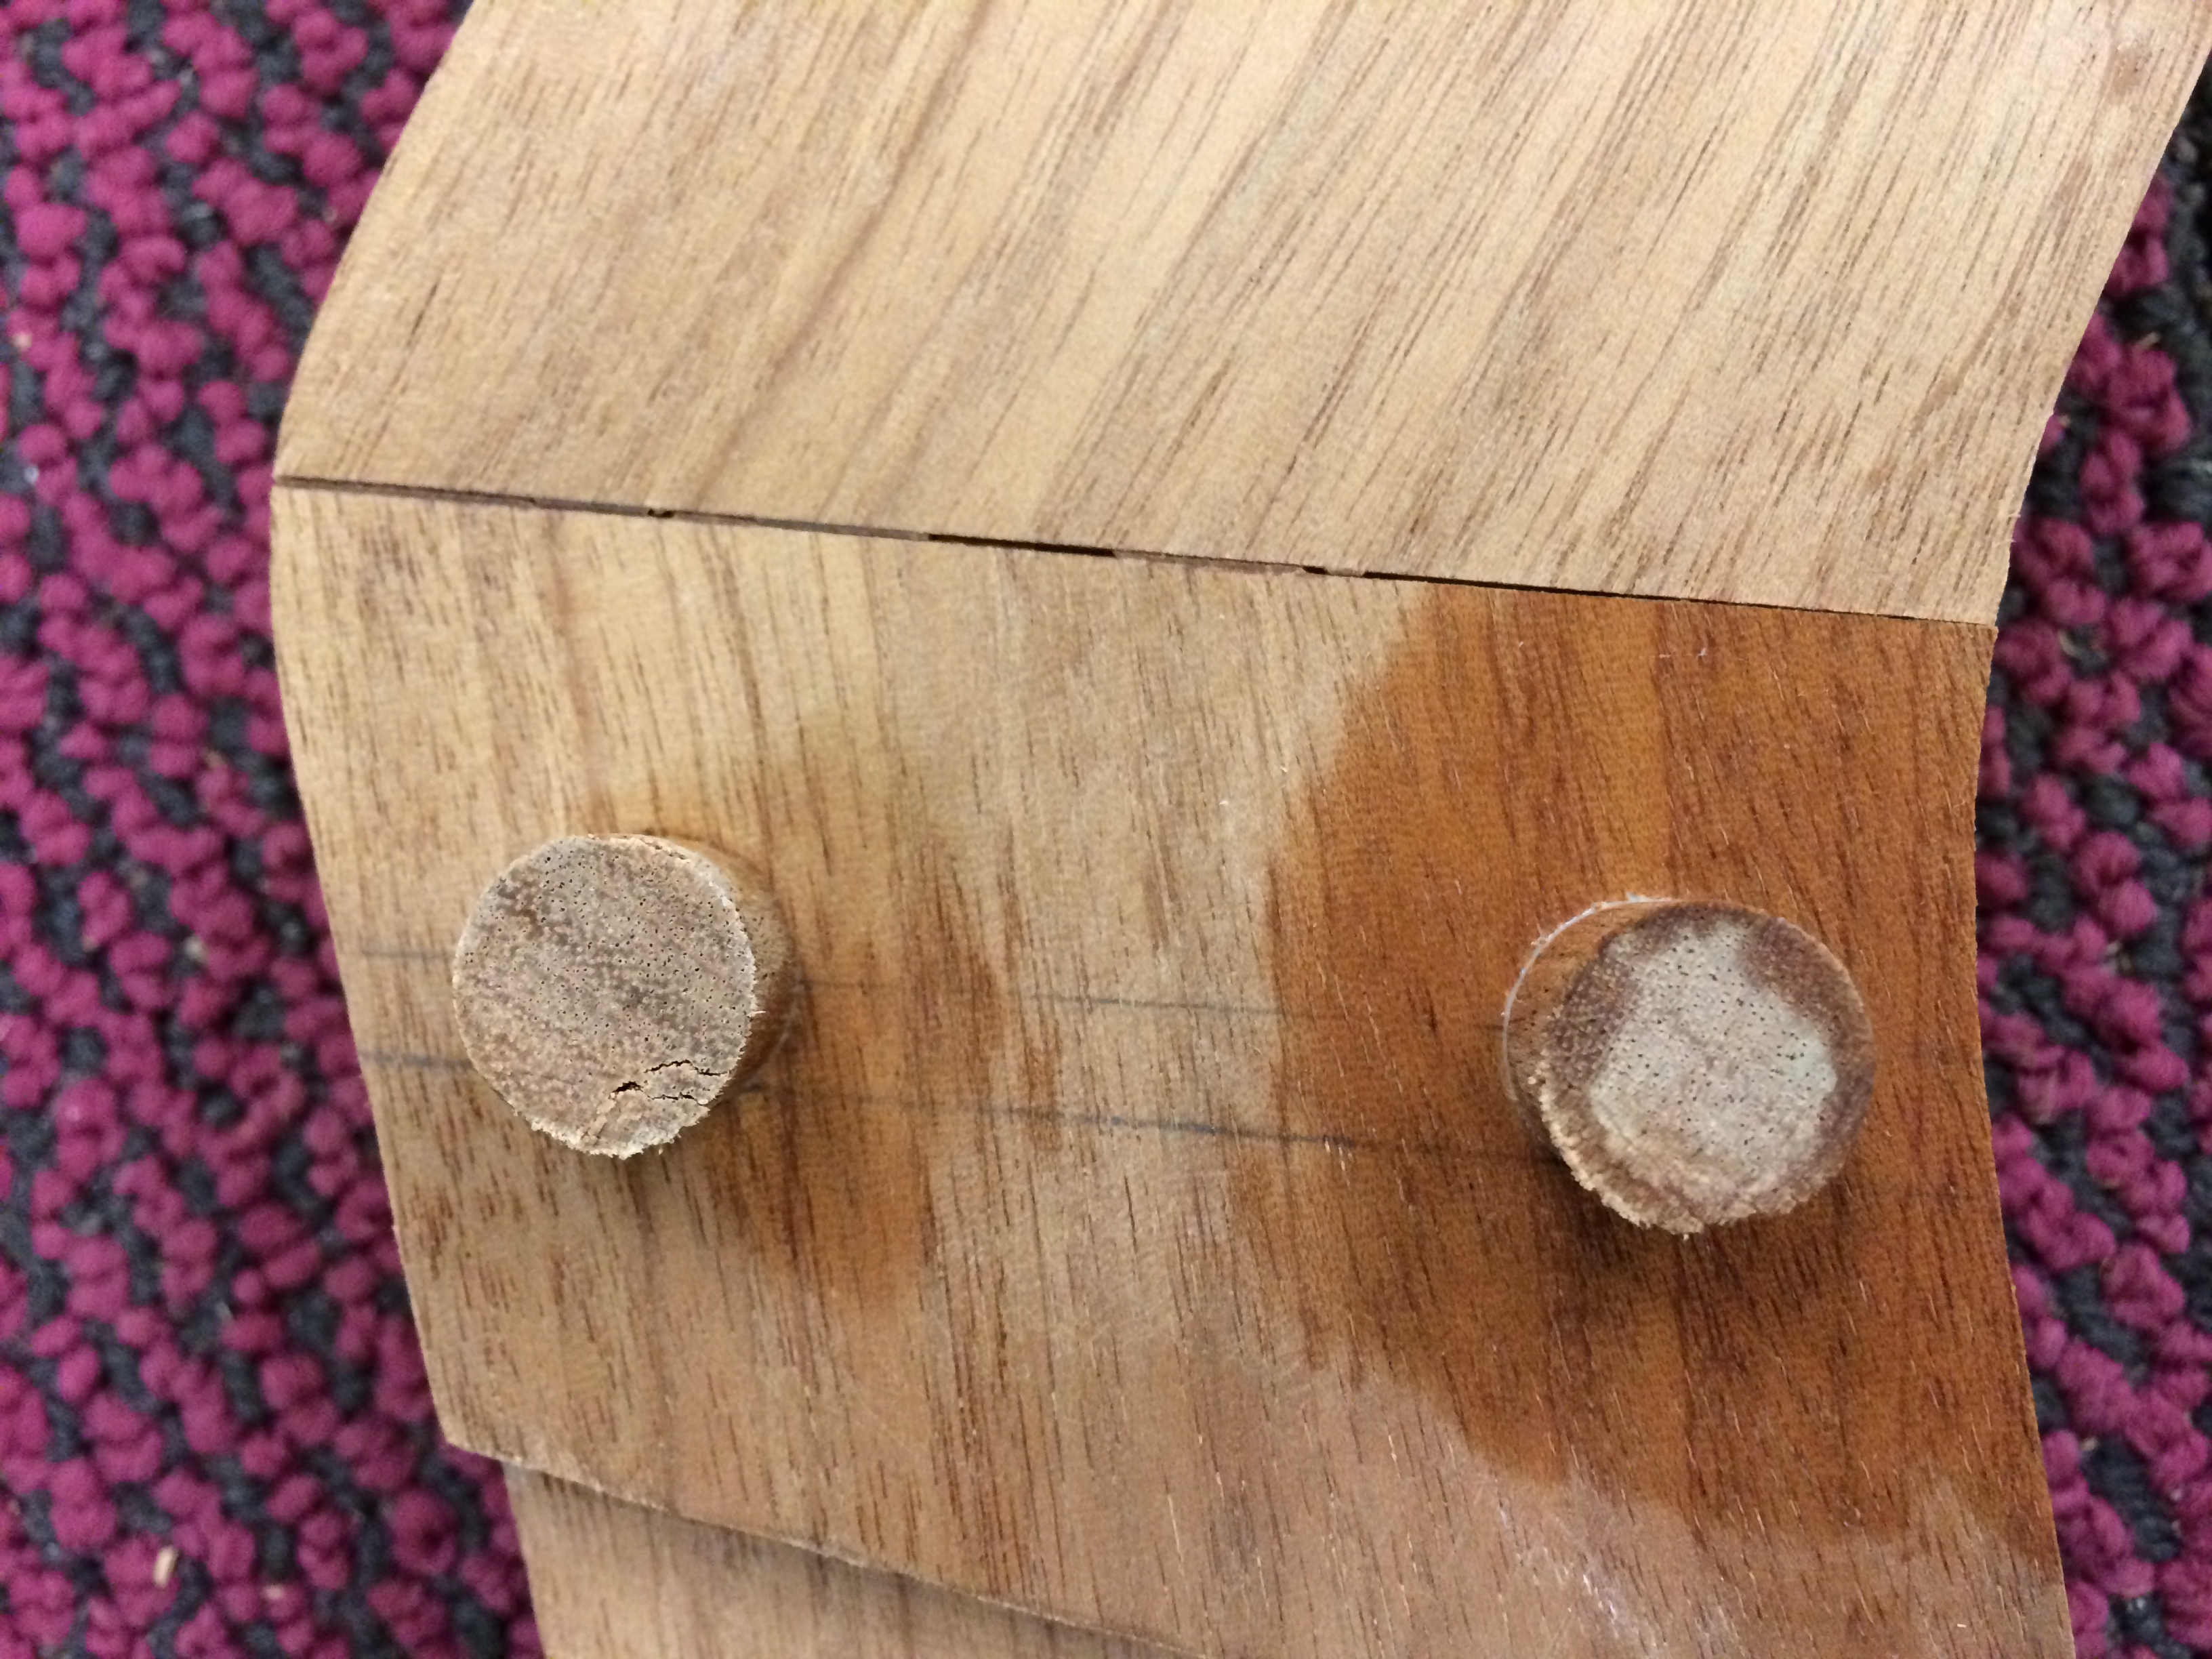
Next up was fixing the joint that opened by running dowels through the tenon. I bought a half-inch, mahogany dowel from Woodcraft and used the drill press with a half-inch forstner bit. The drill press makes sure the bit goes in straight, and also allows you to control the depth of the cut. The nice thing about using two things that you know are a half inch in diameter from the beginning is that you know they will fit together well. I put glue in the holes as well as on the dowel, banged them in with a mallet, and left them to dry.

Since the next order of business is re-cutting the joints on the seat so that they properly grab on to the joints on the leg frames, I sharpened my chisel.

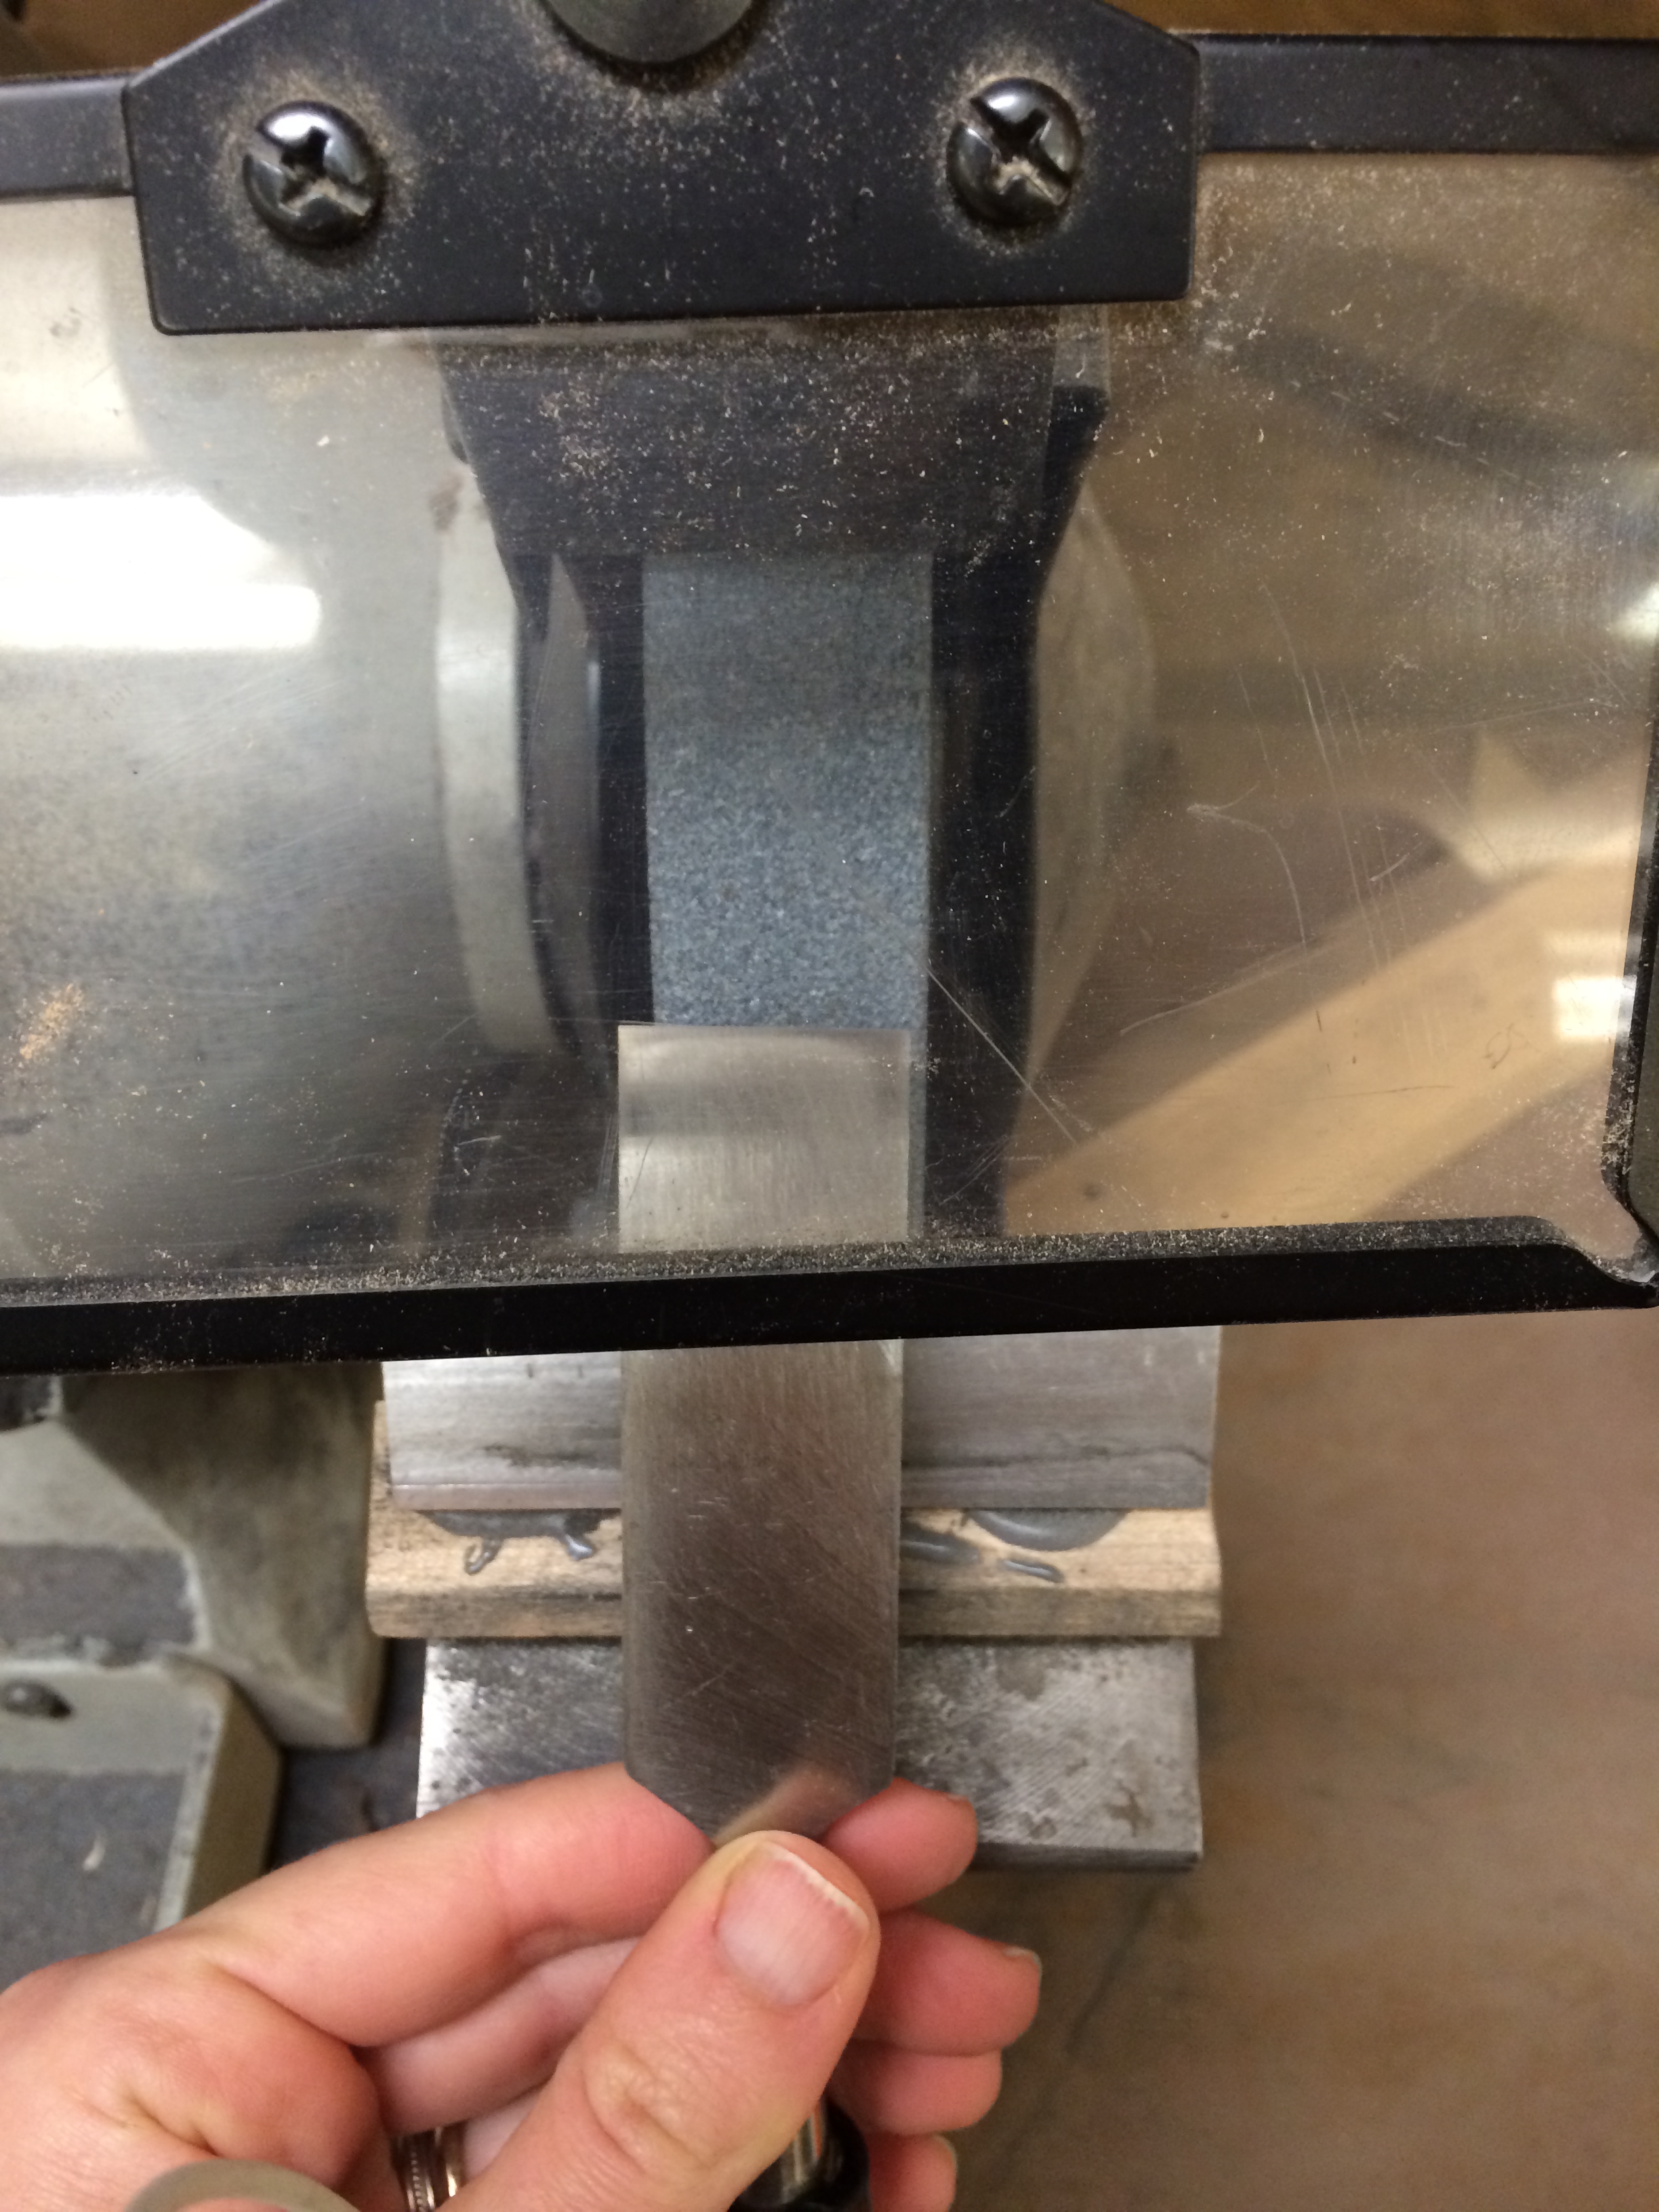
This is done by touching it to the grinding wheel. Sparks fly when you do this, which makes it seem like you’re doing something really hardcore. After the wheel you rub it on the whetstones, like when sharpening a scraper. You go from coarse to fine. A sharp chisel will shave off your arm hair. That’s how I determine it’s ready to use–a quick arm shaving.

Rockin’ Hard or Hardly Rockin’?

116 113115114117118119121122124126127128129130131You’ve probably been worried about my leg joint. Don’t be. It’s all going to be fine. Here’s how the joint closed up clamped overnight. It’s not as good as it was, but it’s fillable. I’ll still need to run a dowel through it, but I’m OK with that. I’ll be working on that today.

In other news, I had to keep moving forward. I glued the armrest-leg piece to the back frames, which went more easily than most of my glue ups have gone since there were clearer ways to create flat surfaces for the clamps to bear on. Clamps like flat. They don’t like angles all that much.


I also worked on the seat repair. You’ll recall I cut off the joint I screwed up last time. Well, I found a piece of wood where the grain matched fairly well to the rest of the seat and cut a strip of it to glue on where I cut the strip off. I cut the long ends off by hand with the Japanese saw and then hand-planed the extra width off so it completely matches the profile of the rest of the seat. If you look carefully, you can tell it’s an extra piece, but it blends in pretty well (see the detail below).

With most of the frame glued up and the seat now back in tact, it was time to cut the legs down to their final size. I’ve been afraid of doing this since it would be really hard to put material back on if I cut them too far and I kept envisioning cutting the legs and then putting the whole thing together only for the center of gravity to be way off. But, I used the measurements and information I had from my drawings and the mock-up (this is, after all, why I did all this planning in the first place), cut the legs down to about 3/4″ of their final length, and clamped the whole chair up just to be sure everything was looking OK.


And, well, it looks good! Ta daaaa!


Knowing the leg lengths were good, I went ahead and cut them down to final length and then cut the mortises in the ends of the legs and in the rockers. I had to work on the ends of the legs with a sanding block for a while to get them to fit the slight curve where they meet the rockers, and they’re pretty close. Since I used the same bit on the mortiser that I used for the armrest mortise/tenon joint, I knew I would be able to use the same piece of wood for the leg/rocker tenons. I had to sand them a bit to fit right, but I got them there, and I glued up the rockers last night. I now have two complete frames.

Next steps will be to put that dowel pin in where the leg joint opened and then re-cut and adjust the seat joints. Then I move on to the backrest joints,


and then I glue up the whole chair! It sounds like I’m almost done, but there are still a ton of tiny things that have to happen too. I have to trim the mortises down flush that are still sticking out of the armrests. I have a zillion little gaps to fill. I have to cut off the extra lamination material on the rockers and fair down those joints so they look smooth, and then I have to hand sand the whole thing, which will take a lot of time, hurt my neck, and cause me to have mahogany boogers despite my wearing a mask while I do it. Only when that’s all done can I start applying finish. I have about three more weeks to get this all done as well as plan my final presentation. Here’s to the home stretch.


Rockin’…and the Bright Side of Failure

93 94 95 96 9799 98 100102103In case you haven’t noticed, I’ve been taking this whole process very personally. To say that it has its triumphs and defeats is to describe my experience mildly. Here’s what’s been happening…

You’ll recall I had a joint alignment problem I was waiting to consult with Mark about. Well, I did, and as usual, he put things in perspective and helped me figure out a solution. To the left is an image of the joint after I cut it on the router and before I chiseled it past its point of fitting properly. Currently, one side fits well and the other…doesn’t. The side that fits well is shown below. While I waited to talk with Mark I forged ahead with other things. I added extra laminations to the rockers in the approximate spots where the legs will meet them. I will sculpt them down once the leg is attached so the joint is faired and smooth, as opposed to the leg and rocker meeting at a blunt, perpendicular connection. This went fairly smoothly (no pun intended). While the glue was drying I started sanding my frame pieces. I now know each side of the frame will need to be glued up for me to know exactly where the seat meets them, and once they are glued up, sanding will be slightly more awkward, so I did a first pass with eighty-grit before moving forward.


I used the random-orbital sander as well as sanding by hand with a flat block with sandpaper glued to it.

This helps flatten out any uneven edges left over from the belt sander or band saw and makes sure I don’t just continue t104o sand down any lower grooves. The block rides along the high parts and smooths everything down to one level.

Then I glued up the armrest/front frame connection (above). This was a flush fit with a lot of glue surface-area that won’t ever be in tension, so I didn’t need to use all that much pressure to clamp it together.

With the extra rocker laminations now dry, I was able to cut the rockers down to width. I did this by running them over the jointer until I had one flat side, and then running the other side through the table saw…carefully. That weird, brush-looking thing on the table saw is a featherboard. I pushed my hip into it as I ran the rocker through the saw and it, in turn, kept the rocker pushed against the fence tighter than I might be able to do by hand. I had to run the rocker through the saw slowly to make sure I was keeping the curved pieces as flat as possible on the table, and as a result, they came through with some burn marks (kind of like my soul in the upcoming paragraphs…stay tuned!), but I sanded these out by hand afterwards.106107

108


I finally met with Mark about my seat joint. I explained that I felt like my options were to either cut a quarter inch off on either side, effectively removing my mistake and starting over with a slightly narrower seat, or to repair the joint with an extra wedge of wood. Mark agreed these were two viable options but proposed a third option that is so crazy it just might work.

Rather than shrink my seat down a little–which I widened after the mock-ups felt a little narrow–and risk losing some comfort, I am going to cut the one side off that I screwed up, and actually glue a new strip back on!

109110Honestly, I am OK with repairs being apparent (which you’ll see very shortly is lucky for me!) as long as they are done well. If a piece of furniture lives its life with its user, gradually accumulating associations with experiences and memories over time, then why shouldn’t it also do this during its life with its maker?

All was plotting along swimmingly…and then the tornado hit…I unclamped the armrest/front frame glue up–now dry–and ran off back to work an event for my job for the next day and a half. When I came back yesterday to get back to work in the shop, I realized that one of the leg-frame tenon joints had opened slightly!

111

This makes no sense. It has been glued up for weeks now. There was only a little tension on this joint while this piece was being glued to the armrest, and you would think if it was able to open like this with a little pressure, it would also be able to close back up with a little pressure, and yet it doesn’t. It took John Vehko and I both putting clamping pressure on it at the same time to get the joint to close back up a little bit. Since it seems to have opened slowly overnight, I left it clamped together last night to see if it will also close slowly overnight. Even if it does, I will have to put a dowel pin through it to secure the joint, which will be visible, as there’s no way I’m getting it open again to add glue, and then closed again. Good thing I’m OK with repairs showing, eh? This will be an obvious one!

Failure never feels good. I don’t think anyone actually likes failure, and I will go back in to the shop today and feel angry at this whole situation. Of this I am one hundred percent certain. However, this failure also helps to reveal one of my greatest triumphs. When I saw the failed joint and showed John and he actually didn’t know how to fix it (he knows how to fix everything!) I was horrified. I called Mark in a panic, in the middle of his work day. He not only answered, but also took a few minutes from the install he was working on for his own business to talk to me about my problem and help me come up with a plan to solve it. It is in moments like that one, when I was on the phone with Mark, that I am overwhelmed with the incredible support I have around me and the way that life seems to be working out. I moved to Austin “for fun for the summer” eleven years ago. I screwed around working at a coffee shop for a few years and I have often felt that if I had just gotten serious a little sooner, that maybe I would have life figured out by now, or maybe I’d be a huge success already, or know exactly what I want. But after talking with Mark on the phone, I was overcome with happiness as I realized that I have somehow managed to put myself in the position of having a role model and mentor whom I admire so much and who cares about what I’m doing enough to interrupt his own work to talk to me and help me see that everything is OK and that this process is good and every part of it matters. I am realizing that I am working on something right now that I care about enough that it keeps me awake at night and brings me to tears of both joy and sadness. I have this kind of amazing support in other areas of my life that move me this much too, but since this is a blog about my chair, and since I’m already probably grossing you out, I’ll keep it about the chair. This realization wouldn’t happen without failure and the people who step up for me in the face of it. I know for certain, right now, that I am doing something very right as my life is exactly as it should be.


Postcards from the Edge

75

76


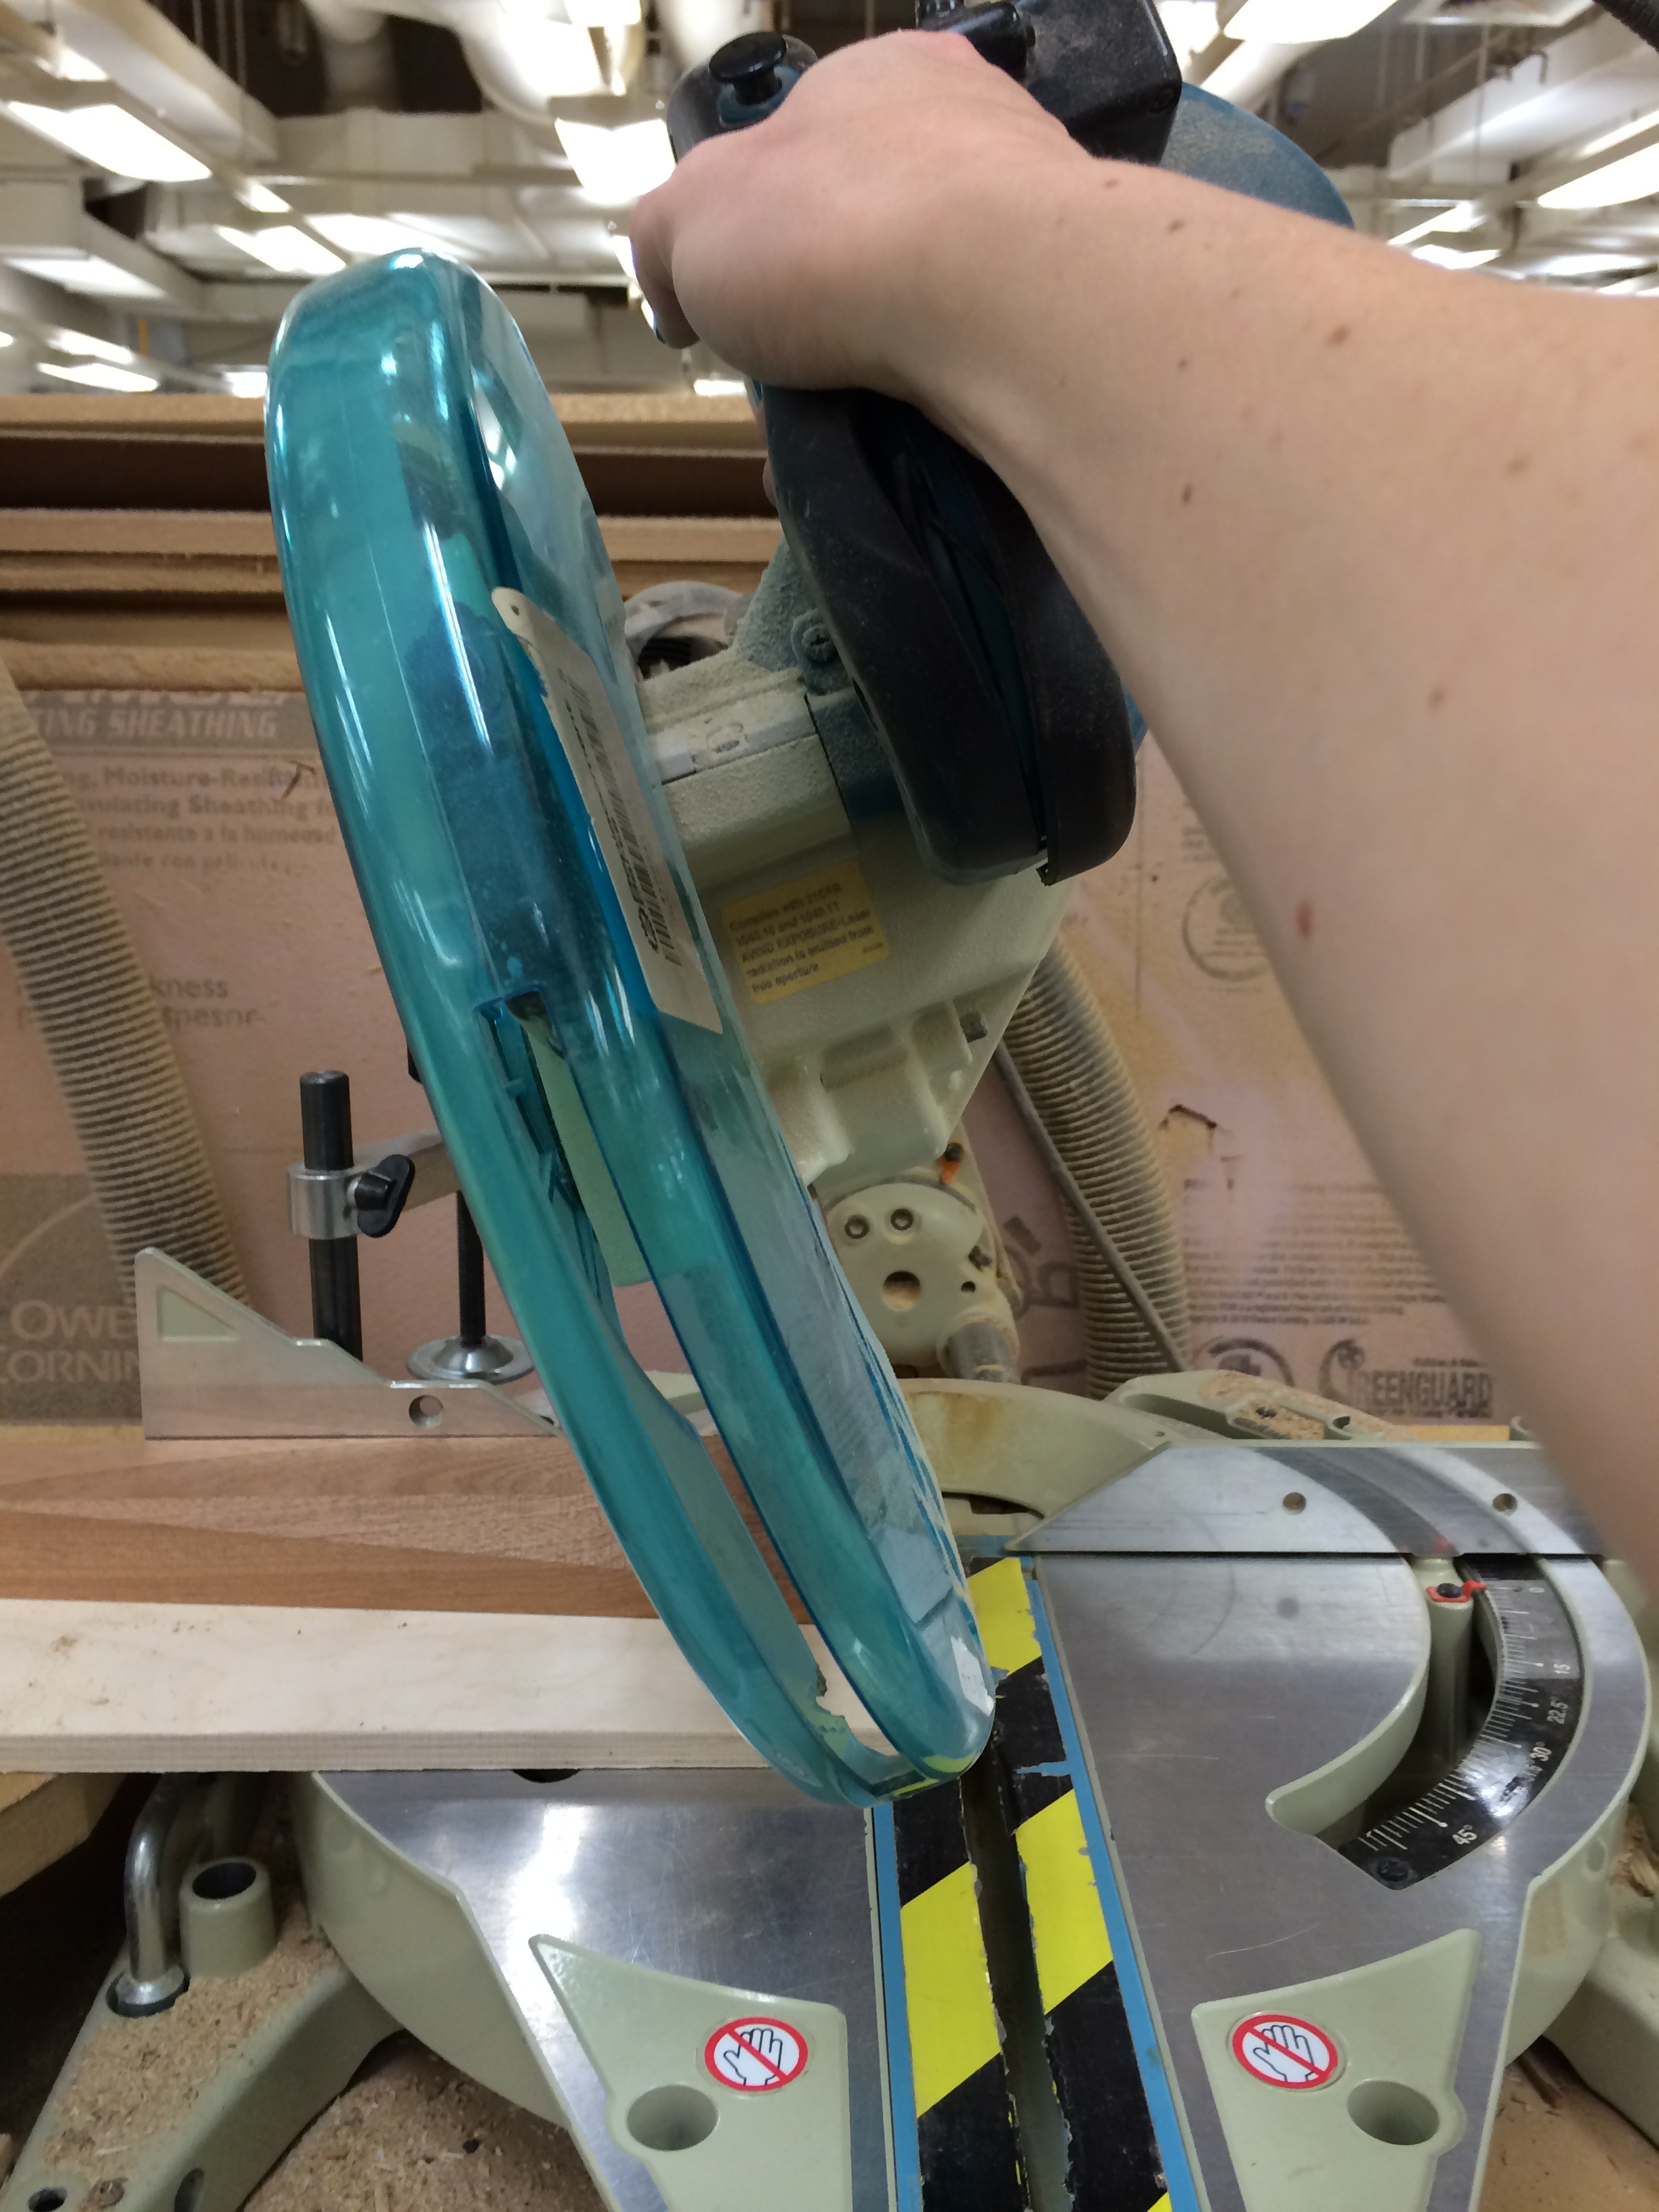
I actually haven’t seen this movie, but I think I’m going to watch it tonight. A 1990 comedy/drama sounds like just the ticket. Phew! It has been a big few days! Good and bad things have happened. I cut the end of the armrests to match the angle of the front frame so they connect smoothly. I did this by angling the blade on the miter saw. Once the two chair parts lined up, I cut the joint, which is a floating tenon, so I had to cut mortises in both pieces that were being connected.77

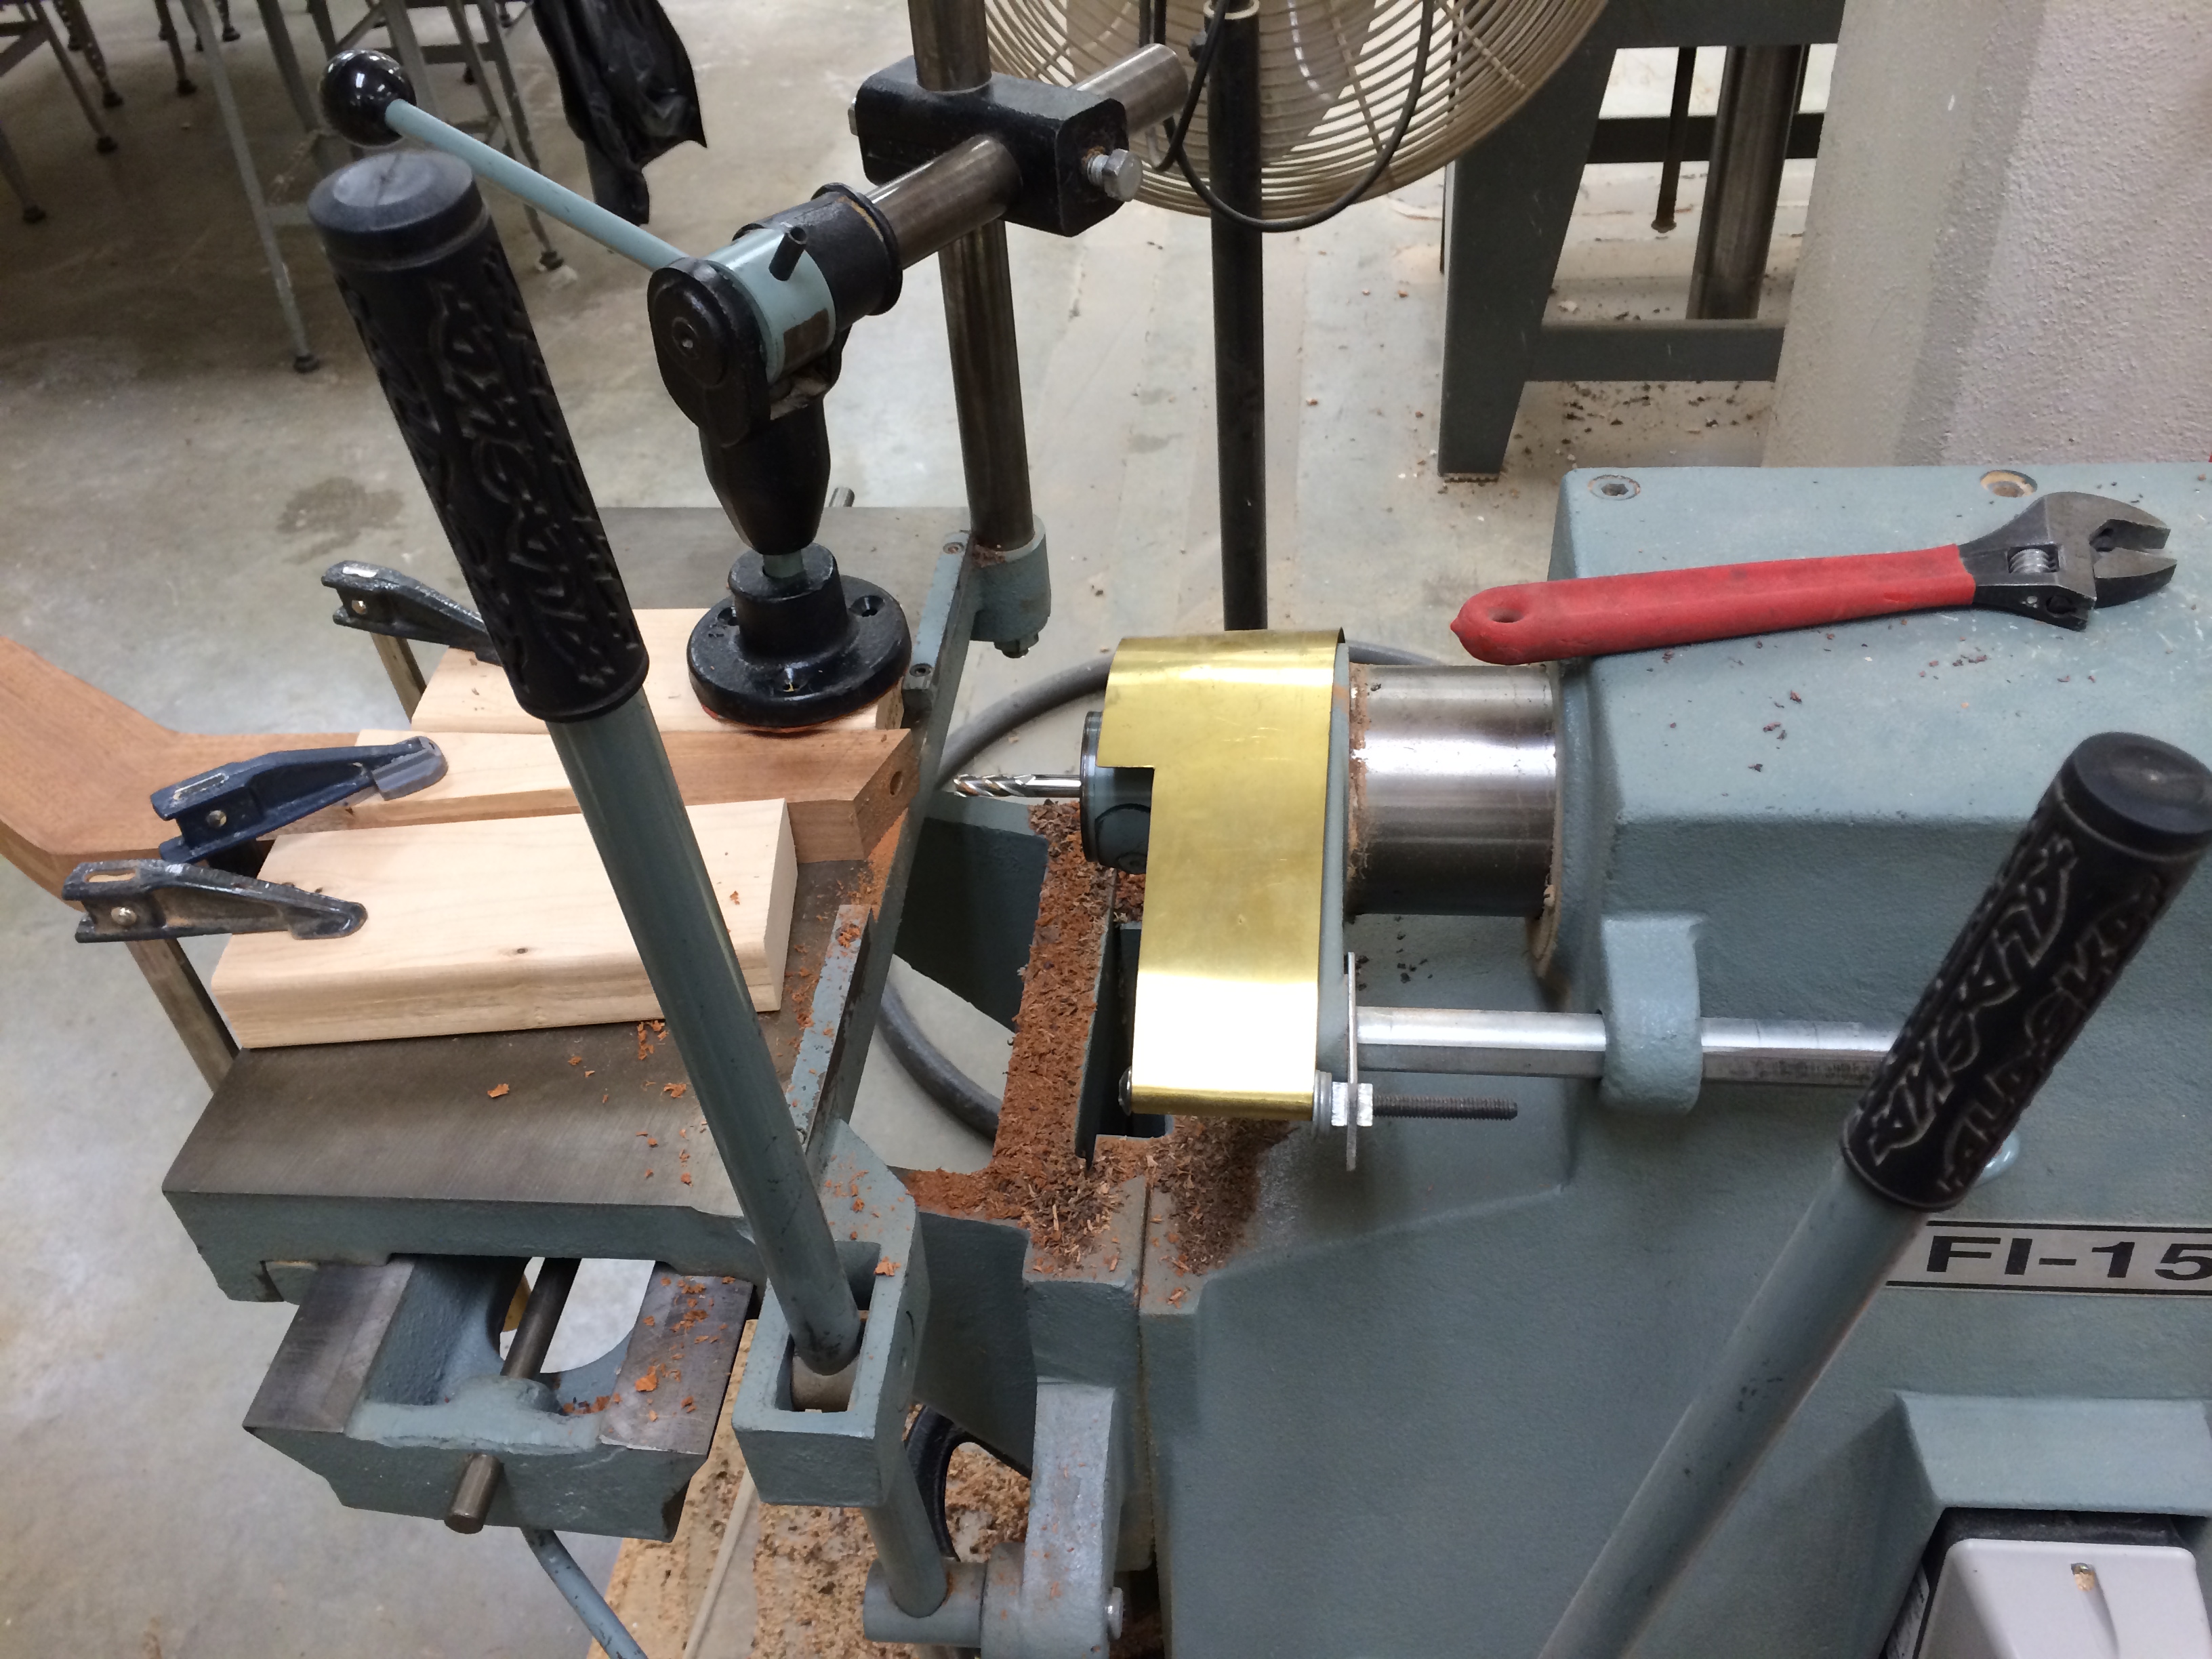
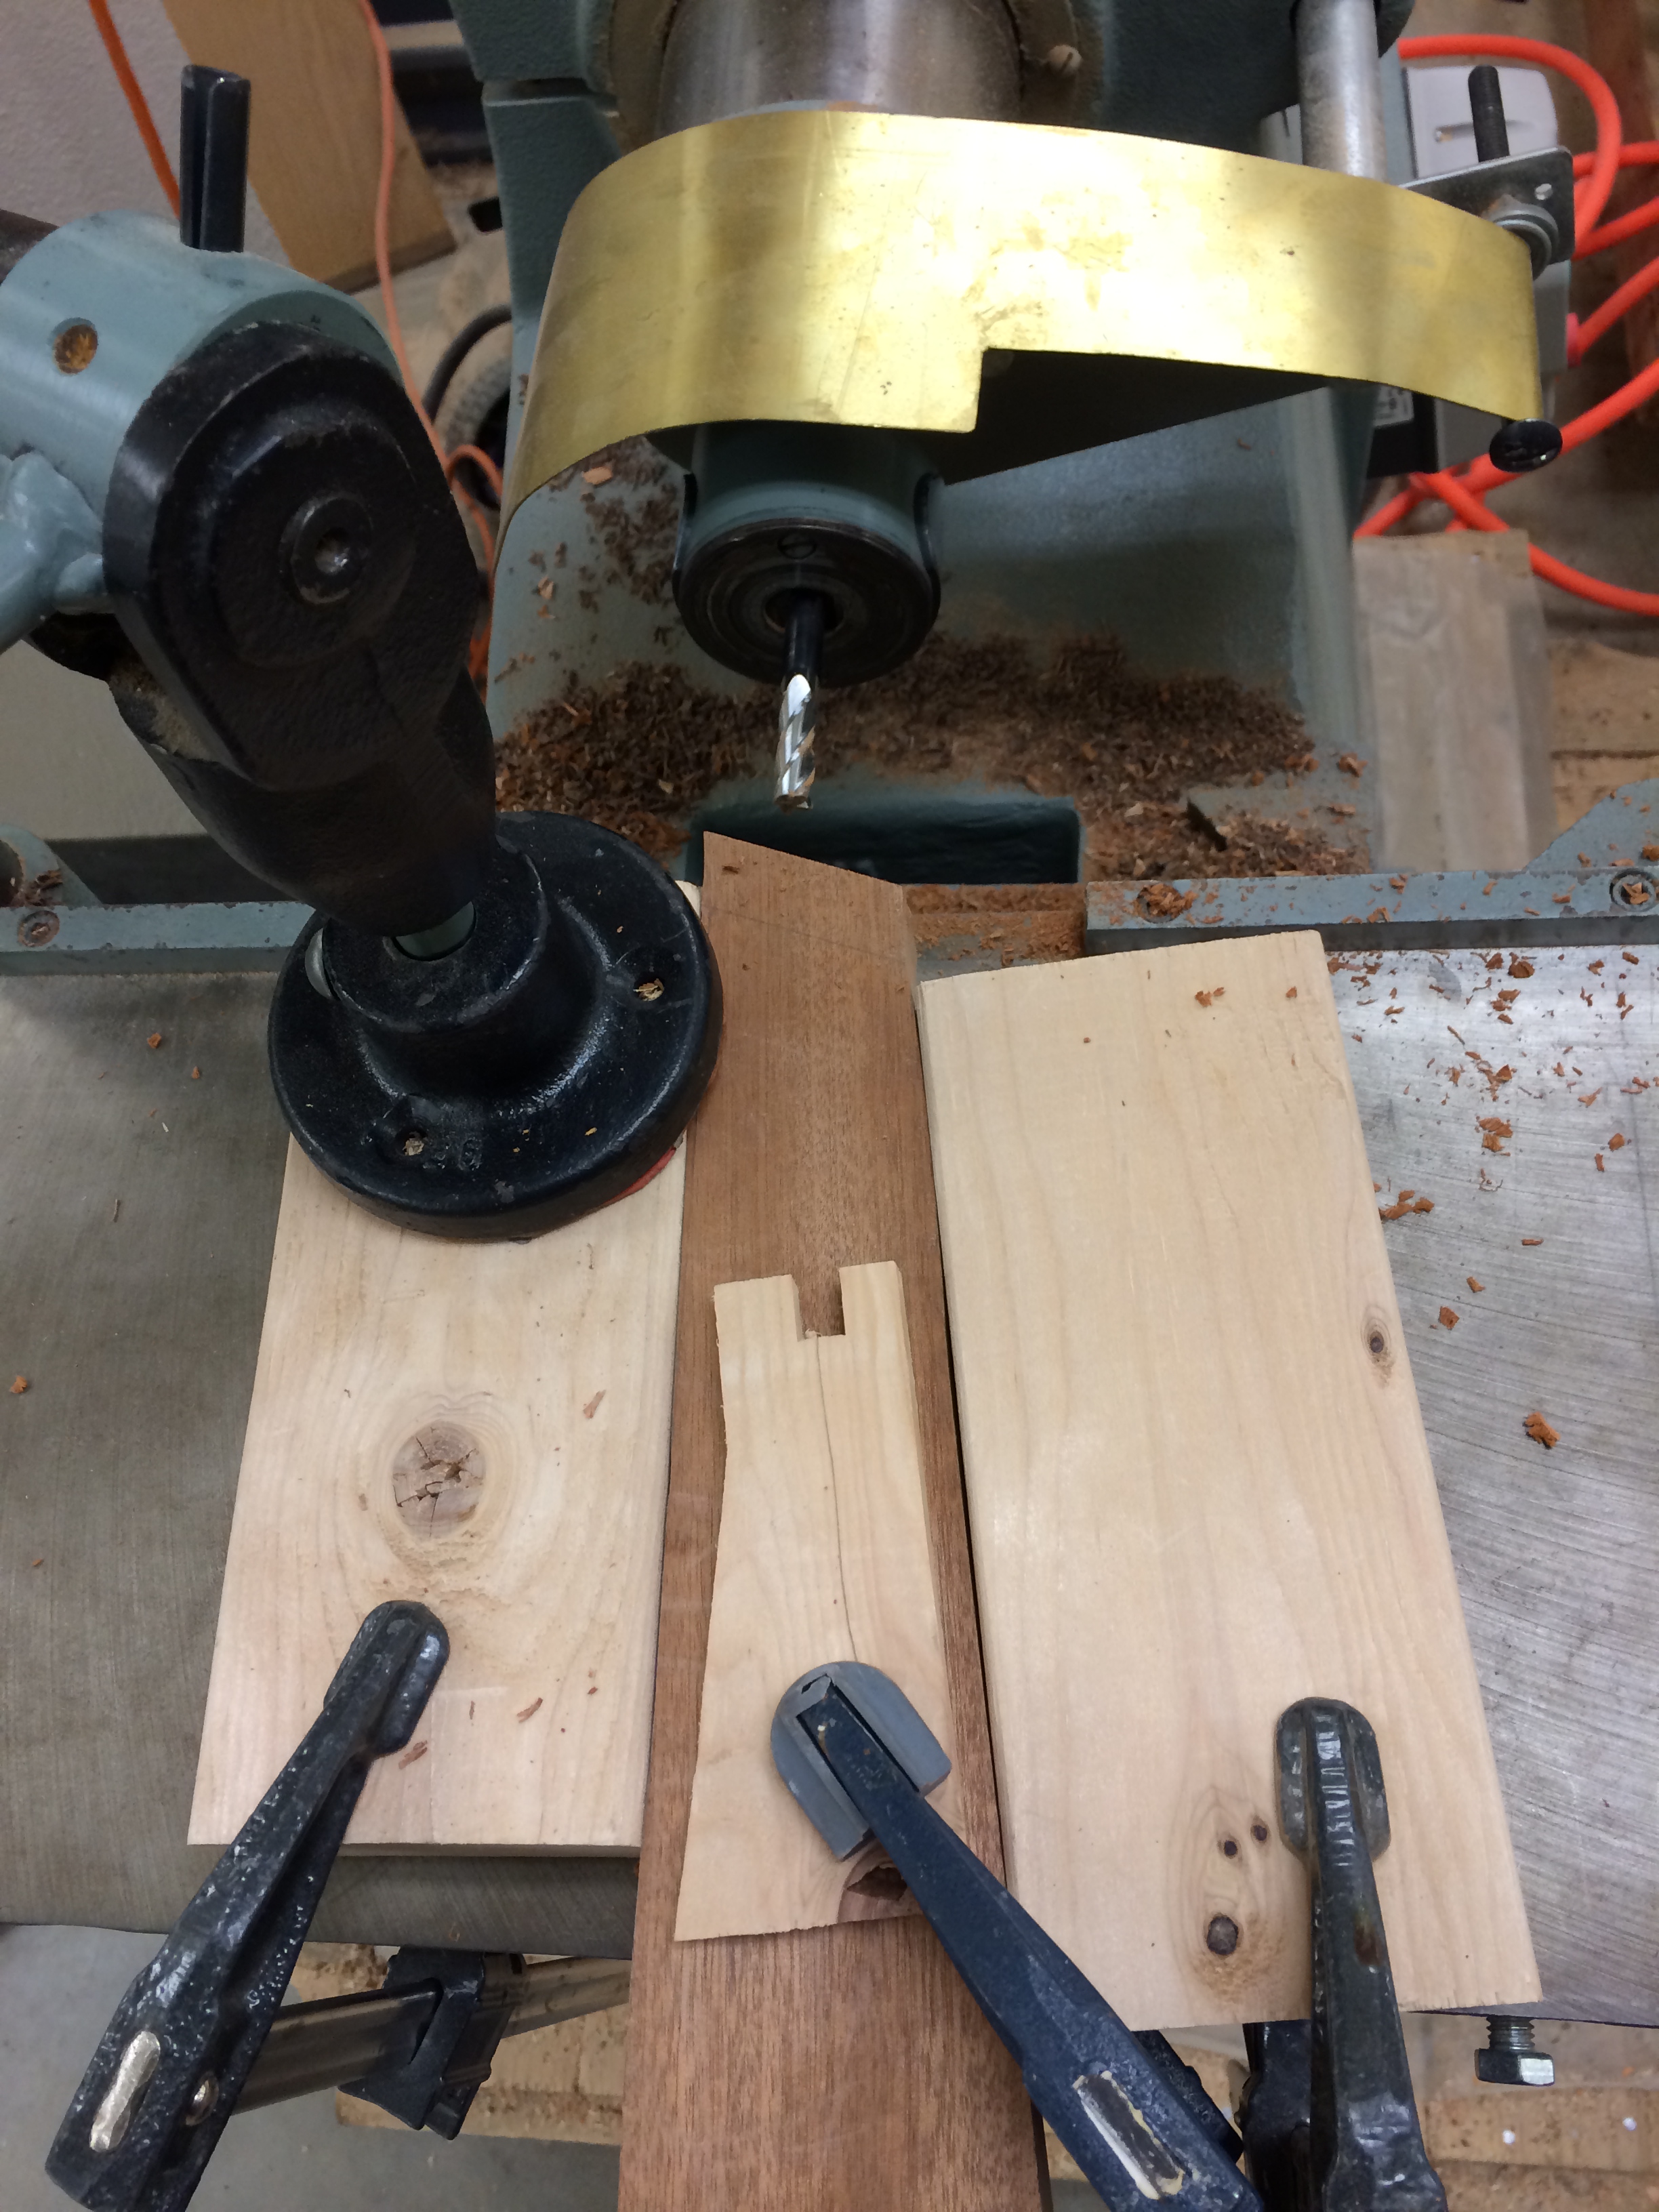
The School of Architecture has an incredible shop. I’m not sure I’ve mentioned that before. It is maintained by John Vehko, a former naval machinist turned educator. John is a cranky man with a big heart and an incredible mind for how to figure things out. 78 Often, I’ll know what I want an outcome to be, but just not be sure how to get there, and John tells me six different ways to do it after thinking about it for five seconds. It’s incredible. Anyway, the point of this digression is to say that the shop has a really cool horizontal mortiser, which makes life good. It allows you to set the height, depth, and width of your mortise really really easily. If you look at the photo above, the lever on the left slides the table from side to side to cut the width and the lever on the right slides the spinning bit in and out to cut the mortise to depth. I clamped boards on either side and on top of the frame piece to keep it in place and so the second piece gets cut at exactly the same angle. I first made a full-depth cut on one end of the mortise, then another full-depth cut on the other side. Then I made shallow passes in between the two holes to cut out the rest of it. I did it this way so the shavings and sawdust had somewhere to go, as opposed to tightening up inside the uncut mortise and burning from the friction.

798081


Then I repeated on the other frame piece, then I went through the same process on the armrests. With both mortises cut, I now had the size information I needed to cut the tenons, which I did on the planer and the table saw and then sanded the corners and trimmed down the length until they fit snugly and held together the frame and armrest!

82They close up flush, but I wanted you to see the “inner workings” (below). 84

Tenons don’t have to float; they can actually just be part of one of the boards, but I wanted to be able to test out the alignment of the pieces before I cut the joint and not having a tenon sticking out from one end from the get-go allowed me to do this.

With three sides of each frame complete (the fourth being the rockers), it was time to notch in the seat. The back connection is literally a notch where the back of the seat sits inside (below), and the front connection is more of a lap joint, where each of the two pieces sort of grabs the other one.85 To cut the back notch, I created a jig for the router. The jig is essentially a guide that only allows the router bit to go where I wanted it to, and stops the router from moving beyond the joint, essentially by clamping or screwing other boards in the way. The fence rides along the boards sitting on top of the chair frame and then there are additional boards on top of those that act as a barrier. The spinning bit cuts the notch and you move the router within the selected area to be cut by hand.86

Since the router bit is round and the notches are square, they have to be chiseled out afterwards to square the corners. There seems to be a lot of this incongruity in joinery: round cuts, square joints. The good thing is that you wind up cutting the joint a little too small with the router and then adjusting little by little until it’s the right size to fit the piece that goes into it. Too small is always better than too big. You can’t put material back. 87Well, in some cases you can, but let’s not worry about that right now. In general, too small > too big.

Oh wait, did I say let’s not worry about that now? I think I jinxed myself by saying that. I wrote that yesterday and I should have known better, I mean been more superstitious. I repeated a similar process on the actual seat, where it will grab the legs–routing out a smaller chunk so I could chisel it to size afterwards–only I made the mistake of checking it against the leg/frame without the leg being connected to the armrest and back frame. As a result, the frame piece fits onto the seat, but now doesn’t fit perfectly into the armrest. I am mad. In hindsight, I should have glued up the frame first, and then cut the notches for the seat…in hindsight. So, now I’m left with a dilemma, do I slightly adjust the way the three frame pieces connect to one another or try to repair the joint that is off? Given that the frame pieces all fit together really well at this point, I’m inclined to try to repair the joint, but I will need a professional consultation before proceeding. I don’t meet with Mark until Tuesday, so I will get John’s opinion tomorrow and work on something else in the meantime. Stay tuned…

88


89
90 91 92

Back to the Grind

Thank God this isn’t a post about coffee. As it is I can barely stand the mawkish inanity. If you come up with a better title, please comment.

I’ve totally been neglecting the backrest and it was time to get to it. First, I bent a thin piece of wood over the board to create a shallow arc. I traced the arc and then made relief cuts up to the line of the arc with the bandsaw. I did this because the depth of the board might cause the blade to bind up otherwise. The relief cuts provide–you guessed it–relief to the tension on the blade. I then cut along the arc. I did this to both boards and then glued them up.

6263


When the glue was dry I started grinding down the backrest, just like I did to the seat, which I worked on a little more too. I alternated between grinding, sanding, and scraping, and the curve of the backrest officially began to take shape.

64656667686970 


The grinder is pretty intense and creates swirl-shaped scratches, and the sander and scraper started smoothing them down. While this is all work I need to do, I did it this week and not later on because I’ve been avoiding final-checking the frame so I can start cutting the joinery. Something was off measurement-wise and I couldn’t figure out what. Eventually I had to bite the bullet…aaaaaaand I figured it out…aaaaaaand it was pretty bad. Somehow my full-scale drawing from which I made my frame template pieces had the armrest about four inches shorter than on my mock-up! Seriously! I’ll give you a second. It’s a lot to process. Mind you, the mock-up is pretty comfortable and this is the information I need to follow most closely.

What this meant was that the seat wasn’t fitting in the frame as I’d planned and the armrest/seat relationship wasn’t as I’d planned. AND, it meant that if I adjusted anything to fix this, it either changed the length of the armrest or the angle of the backrest, you know, no big deal.

71I took apart my mock-up, thinking perhaps that changing the angle of the backrest might be the lesser of the two evils, but it wasn’t. It was very evil and I was totally freaking out. At this point, everything I did went terribly. The drill battery died, I stripped out a few screws, I made a small tear in my pants bigger, a board banged my knee really hard. I would have left the shop but I was waiting to talk to Mark and so I stayed on the crazy train until he came and talked me off the ledge. 72He is a calm presence and I’ve been grateful for this many times. After I explained the issue, which I’d been mulling over for over three hours, in about thirty seconds he suggested putting the mock-up back to how it was supposed to be, and then trying shortening the armrests. I did, and it wasn’t so bad. So, this is what I did next. I shortened the armrests an inch and a half. I recut the mortises and thinned the armrests down, and it really didn’t affect much at all, but it did solve my problem. The frame still isn’t exactly as I planned, but it’s much, much better. I am now finally able to move forward finishing up the armrest joints.
The rest of the week will be spent cutting the mortises and tenons on the other ends of the armrests and cutting the lap and dado joints that will hold the seat in place. I may lose sleep over this, so bear with me.

73